Home Blog Page 289

Build a Custom STAR TREK: TNG Borg Blu-ray Box (Pt. 2)

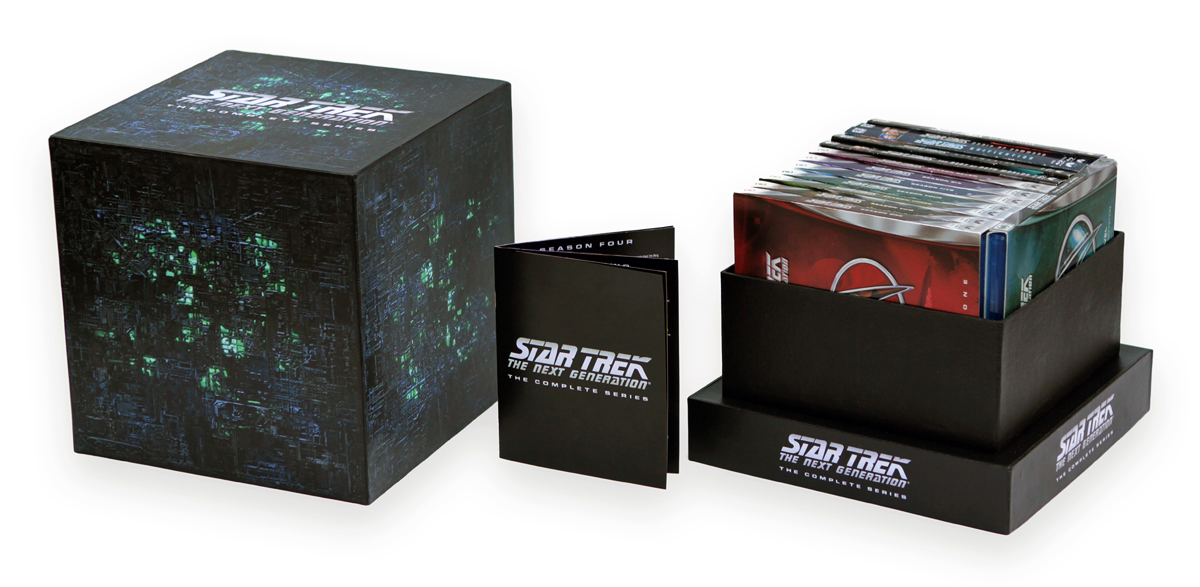
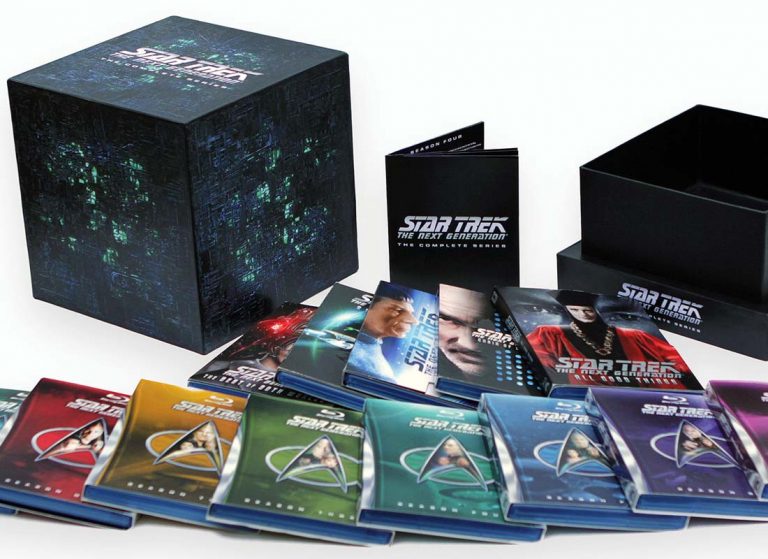
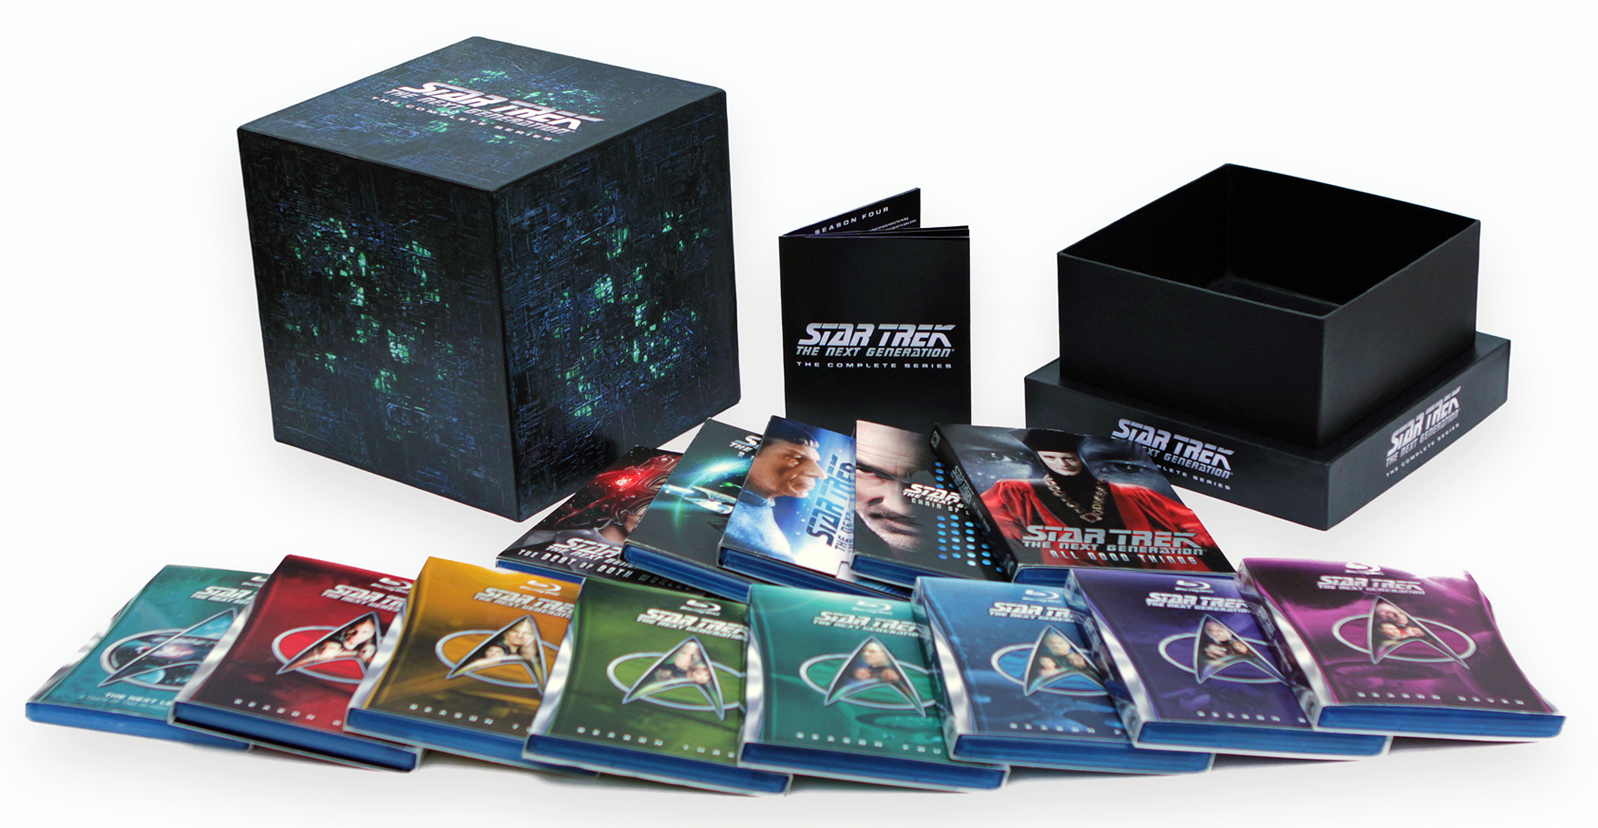
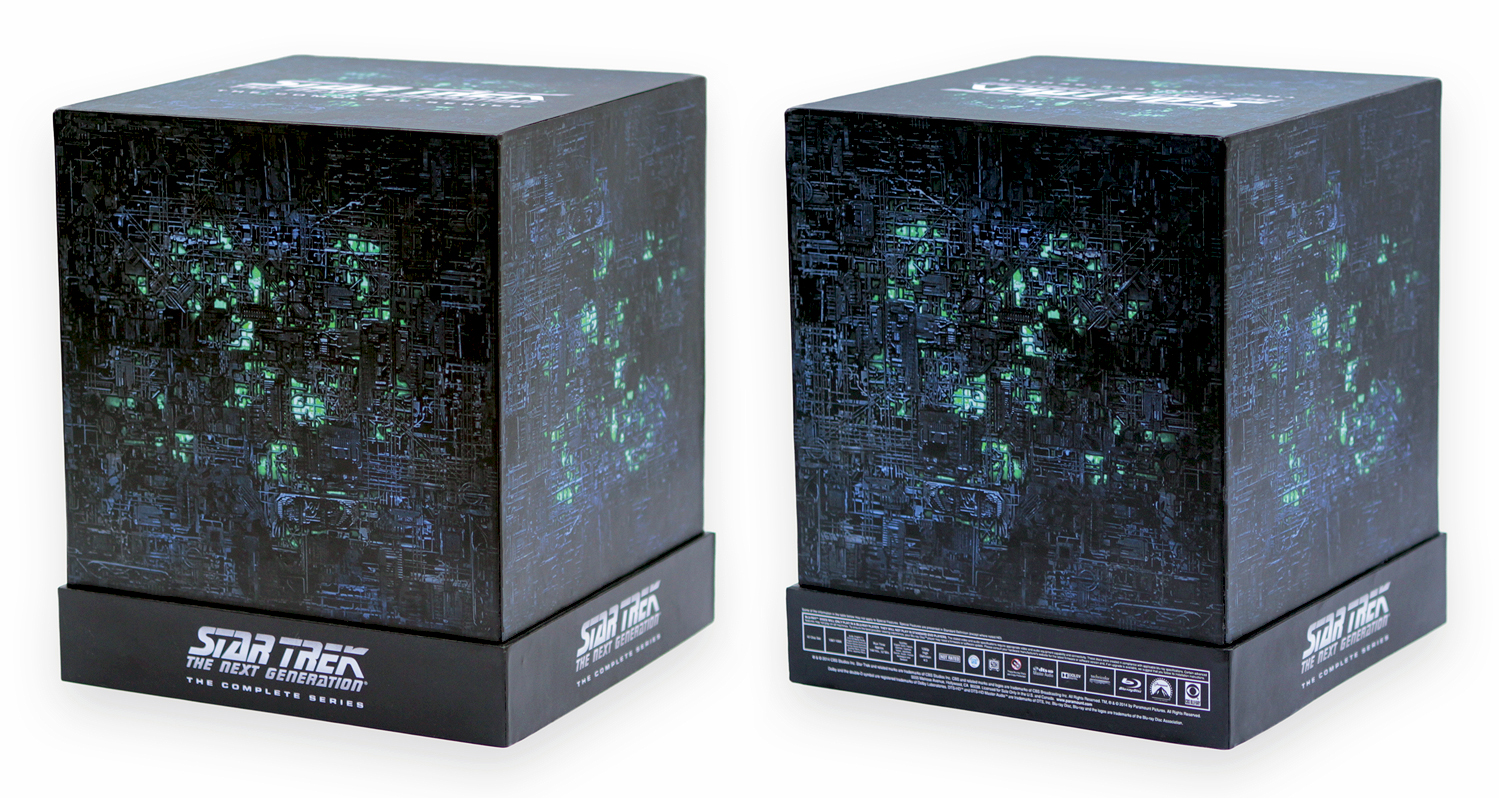
Last week we previewed an amazing custom case designed to hold the complete run of Star Trek: The Next Generation on Blu-ray, and Justin Olson is back today to teach you how to build your own!

div_spacer

Printing the Artwork

Links to the artwork can be found below. They are in PDF format, already converted to CMYK color and suitable for home printing, with embedded text layers and vectorized logos wherever possible.
printoutThe box set artwork must be laser printed on five sheets of “tabloid” sized, 11 x 17 inch paper (32-lb weight).

Make sure to print the designs at 100% size. Absolutely no scaling — the artwork needs to perfectly fit the paper mâché boxes.

The booklet artwork is designed for five sheets of 8.5 x 11-inch paper and must be printed double-sided in the correct orientation and in the appropriate order, folded correctly, and then stapled and trimmed to the indicated size using the provided marks.

The booklet pages can be laser-printed or inkjet printed on double sided photo paper.

To help yourself with the folding, stapling, and cutting, I recommend using five sheets of blank paper. Fold each in half, combine them into a booklet, and write page numbers on them. Then, take it all apart to give you an example of how to fold, combine, and assemble the real booklet.

Download TNG Cube Box Artwork (86mb)
Download TNG Cube Booket Artwork (95mb)

.   .   .

Buying the Paper Mâché Boxes

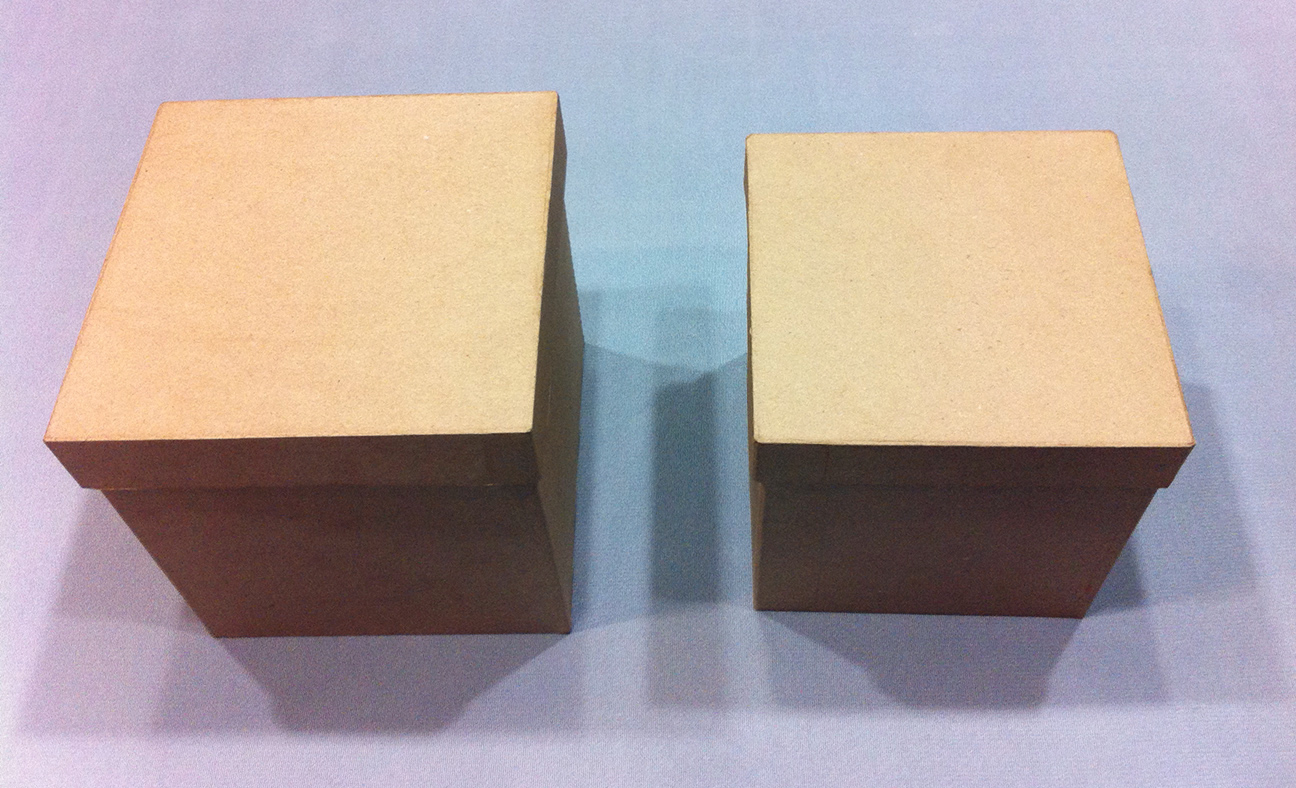
The key item here you’ll need is a product made by Darice (Item # 2849-15). You can’t attempt this project without it, I’m afraid. It is a set of seven variously-sized paper mâché boxes with lids. Six of the seven boxes are nested within each other inside the largest box, so it just looks like a single shrink wrapped 9″ box with lid. This largest box is what will become the outside of the Borg cube and its base.

Inside that box is a smaller one that will hold the Blu-rays.

boxes-closed9″ and 8″ boxes.

I found the seven-piece box package at Michael’s — the largest chain of arts & crafts chain of stores in North America — for around $20. If you don’t have a Michael’s near you, it’s also available online at Consumer Crafts. Most of the other items you’ll need are in the $1 to $5 dollar range. The single most expensive item I bought was the water-based spray finish at it was $13.

Disclaimer

While the following project can be accomplished by just about anyone over a certain age, it helps if you’ve successfully completed arts & crafts projects before and are familiar with the tools and supplies listed below. If not, you might consider asking someone you know who has done things like this before to help you.

I know that might seem ridiculously obvious to point out, but I figure it’s worth mentioning anyway as a potential warning for those who might buy these supplies and all of a sudden find themselves a bit overwhelmed when it comes to putting it all together. Just use common sense.

Also, if you happen to come across this tutorial, the downloadable images provided, or a completed version of this DIY packaging for sale for any price anywhere else on the Internet, please report it to our site administrators.

This project is in no way licensed, sanctioned, or endorsed by CBS or Paramount.

div_spacer

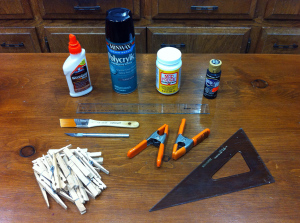
SUPPLIES NEEDED

  • suppliesPaper mâché box set
  • 3/8” square wood dowel
  • Hobby knife
  • Brush
  • Ruler
  • Right-angle triangle or square
  • 2 Spring clamps
  • Wood glue
  • 16-20 Clothespins
  • Black acrylic paint
  • Decoupage glue/sealer
  • Laser printed artwork
  • Water-based spray finish

STEP 1

Take the two largest boxes and their lids from the paper mâché box set (one measures 8 and 5/8″ wide on each side, the other 7 and 5/8″). The larger box will become the Borg cube top, and its lid will become the base everything sits on. The smaller box will hold the Blu-rays and be glued on top of the large lid, while the small lid will be glued underneath to both reinforce and add a bottom to the base.
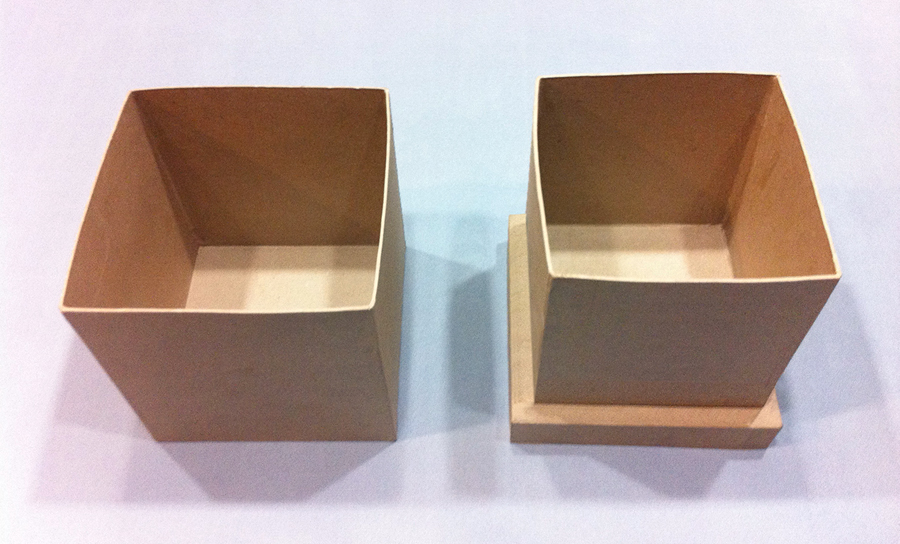
boxes-openThe paper mâché boxes, arranged properly.

But before you glue the base together, you must first cut the two boxes to the right size.

STEP 2

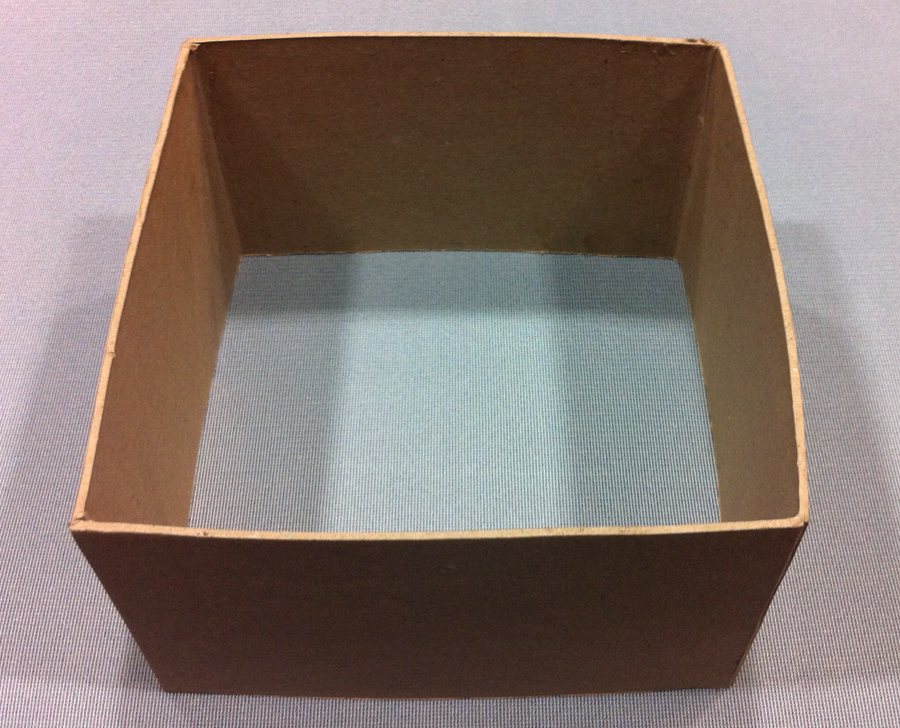
Unfortunately, the larger box is not perfectly square — at least mine wasn’t. It was approximately 1/4″ too tall, so you need to trim this amount from the open end of the box (or whatever amount is required to make your box square).

Measure 1/4″ in from the box’s open ends on each side and draw a pencil line all the way around the box. Place your metal ruler on the line and secure it firmly in place with two spring clamps. Using your hobby knife, carefully score along the ruler between the clamps.
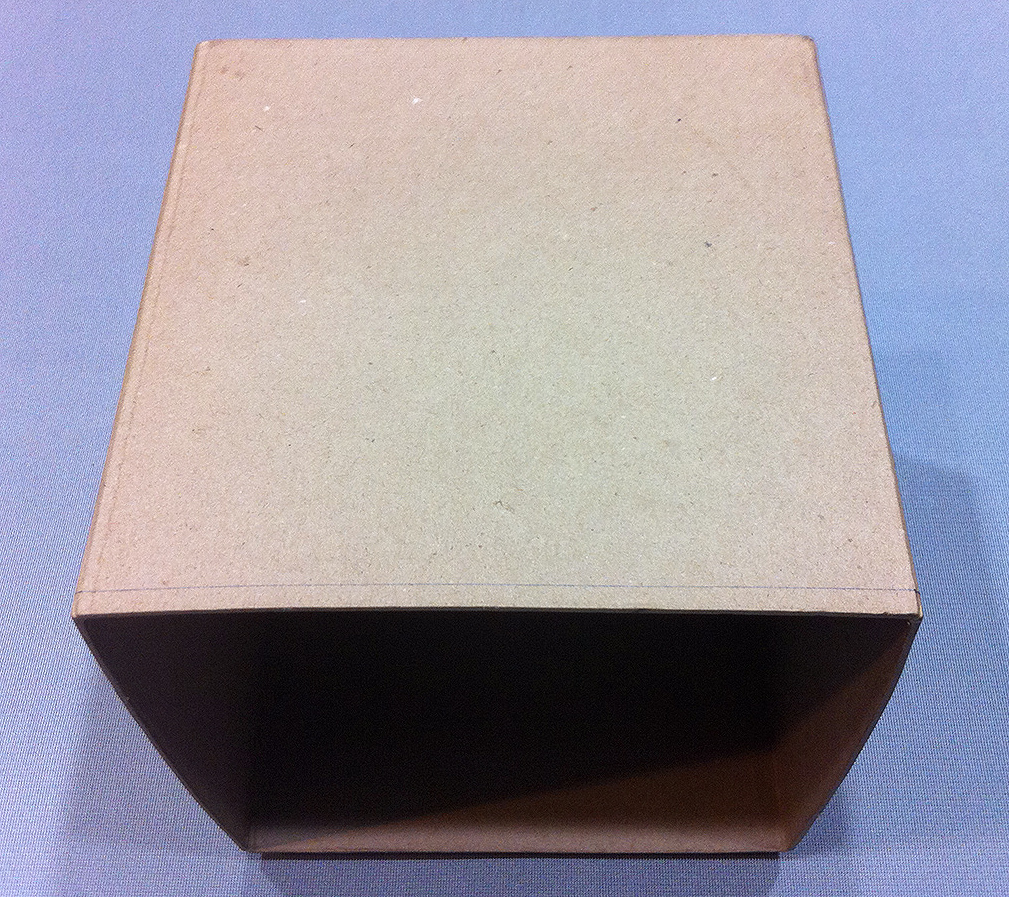
line-to-cut portion-cut-from-larger-box
Left: 1/4” line drawn around the outside of the larger box.
Right: Portion cut from the larger box.

Don’t try to cut all the way through the paper mâché material in one go, just keep scoring carefully with a fresh, sharp blade until you make it through. Do this on all four sides of the box. When you’re done, use the knife to carefully cut the remaining corners free using a sawing motion.

Your large box should now be perfectly square, measuring approximately 8 and 5/8″ on every side and in all directions.

STEP 3

Now for the smaller box — it needs to be cut down more dramatically, roughly in half. The Blu-rays fit just fine as is, but they’re very difficult to remove otherwise.
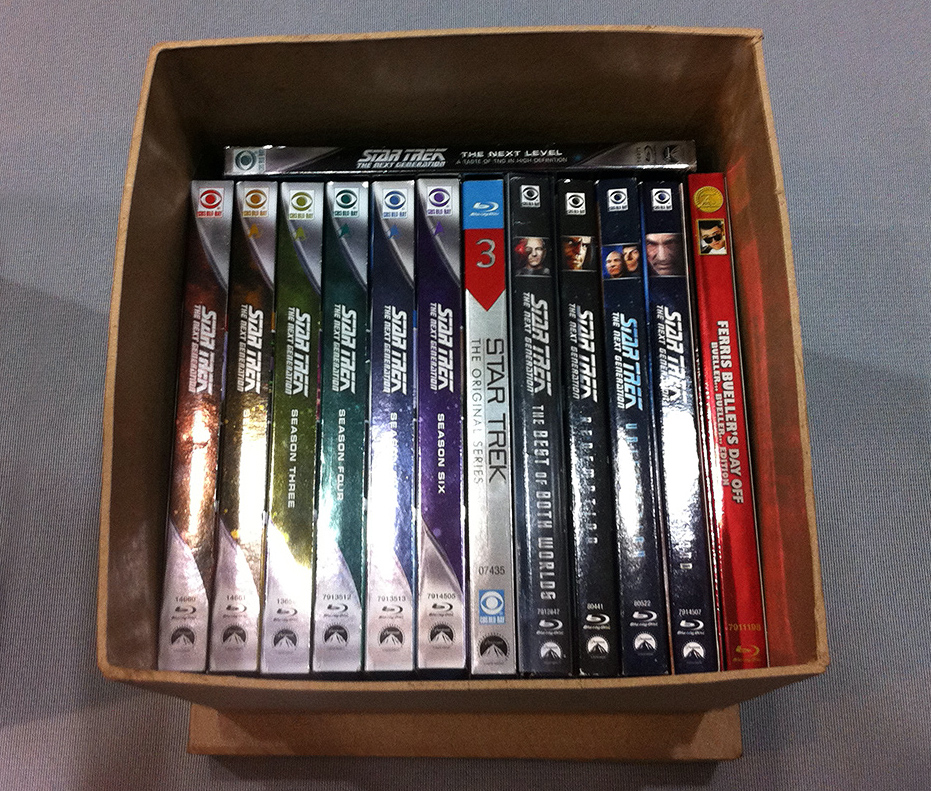
blu-rays-in-box-before-cuttingBlu-rays inside the smaller box before cutting it.


I cut 4 and 1/2″ from the open end of the box, leaving the box approximately 3 and 3/8″ in depth. To do this, use the same technique described above in Step 2.

NOTE: The larger the portion you decide to cut away from this box, the larger the clamps you will need to hold your ruler in place (because the ruler will be further away from the open end of the box).
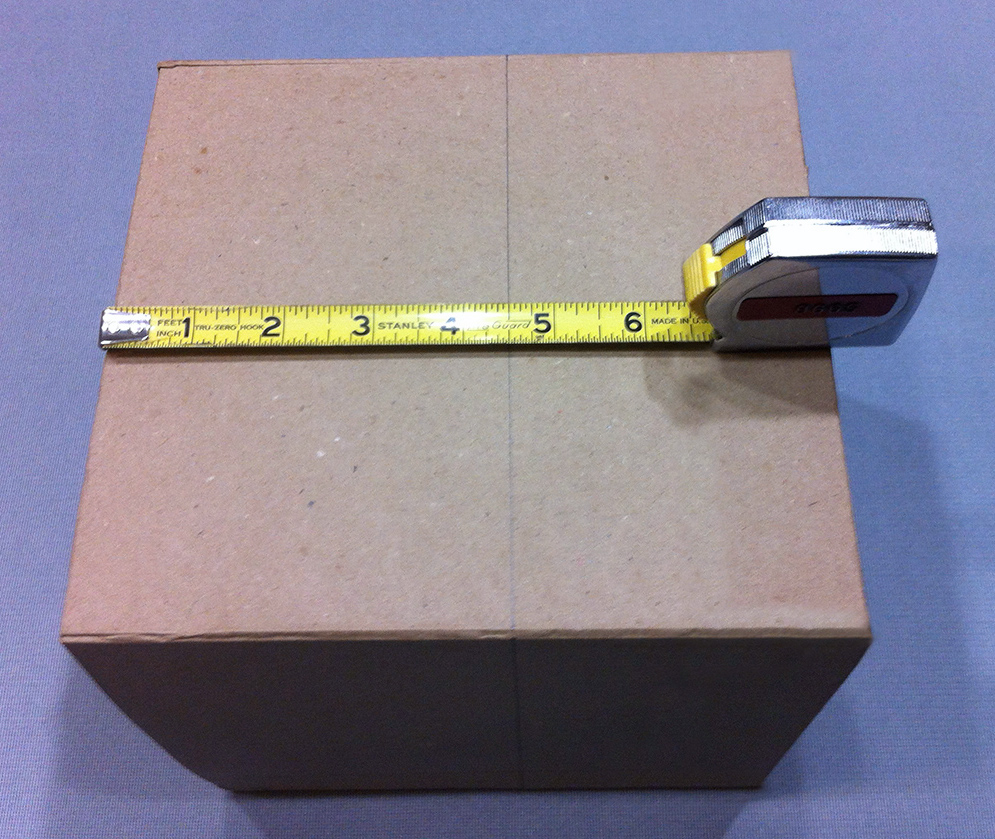
smaller-box-too-big portion-cut-from-smaller-box
Left: 4 and 1/2” line drawn around the outside of the smaller box.
Right: 4 and 1/2” portion cut from the smaller box.

Instead of using larger clamps, you could also preemptively cut away most of the open end first (with scissors, for instance) which would then allow your smaller clamps to grip the ruler on the line you drew. Alternatively, you could simply use a much wider piece of flat plastic or metal with a straight edge instead of the ruler.

I chose the latter method and managed to cut the box once.

STEP 4

You’ll probably notice that when you place the larger box down on top of its lid, the bottom sides of the box “cube” appear slightly bent outward and rounded next to the straighter sides of the lid. In order to fix this and provide a snug fit around the smaller inner box, you have to construct an interior wood frame.

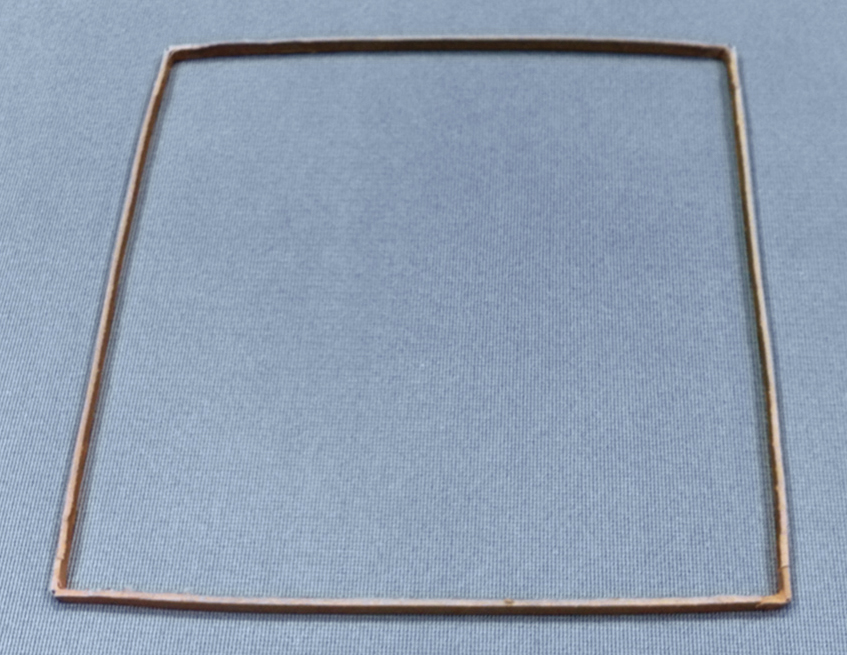
Take the 36″ x 3/8″ square wood dowel and cut it into four 8 and 1/8″ lengths, preferably using a powered miter saw or, if necessary, a manual saw with a miter box to make precise square cuts. If you don’t have any of these tools, see if they’ll cut the dowel for you at your local hardware store.

wood-dowels3/8” wood dowel, cut into four pieces.

Arrange these wood pieces around the base of the smaller box you cut in half, overlapping them edge to face to see what it looks like and to check the fit. This square frame should be approximately 8 and 1/2″ wide on the outside and there should be a very small amount of extra room between the wood frame and the box.

Now, you should test how it fits inside the larger box. Take the wood pieces and fit them just inside the open end of the box, again overlapping them edge to face (if you have trouble keeping them in place, temporarily tape the pieces together).

Do they fit? They should all fit in snugly (but not excessively so — you don’t want to damage the box), each overlapping the other, forcing the open end of the larger box into a more perfect square.

I found that I had to slightly shorten the pieces individually to make them fit just right; you’ll probably have to do the same. When you get them fitting the best you possibly can, try to carefully slide this larger box with the wood frame still inside it over the smaller inner box you cut in half. Does it fit snugly over it? If so, then you’re ready to glue the frame together.
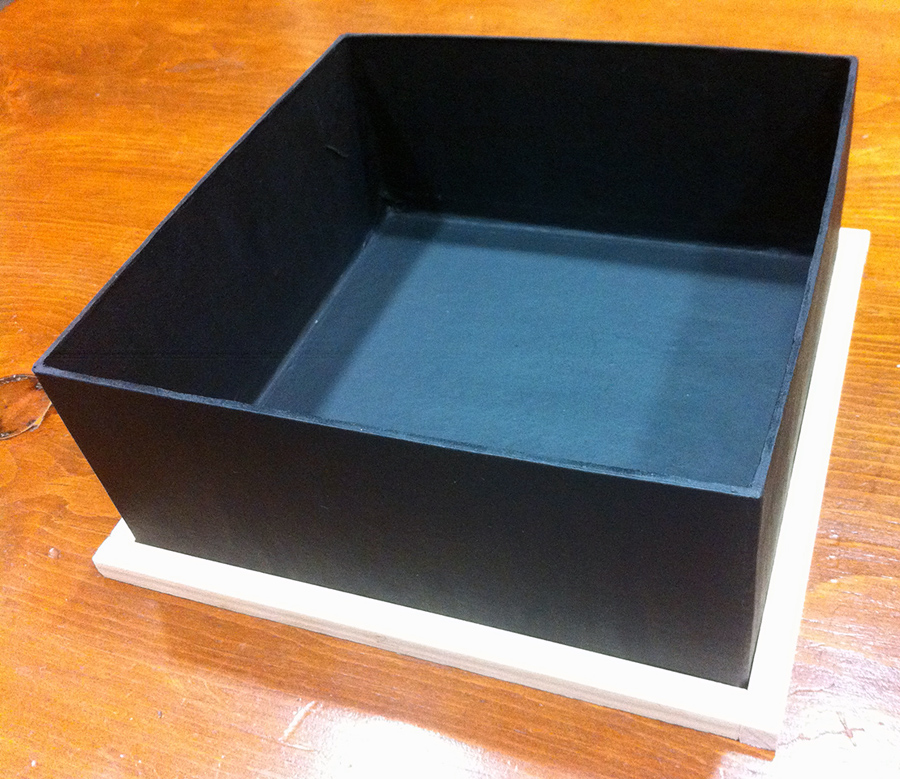
wood-frame-around-smaller-box wood-frame-in-larger-box
Left: Wood dowels placed around the smaller box to check fit.
Right: Wood dowels inside the larger box.

Mark the wood pieces with numbers (1, 2, 3, 4) and put those numbers on the outside of the box as well to remind you which piece fits where. You can also mark the wood pieces where they meet to indicate how each piece should fit together.

NOTE: You may find that the smaller box is slightly warped out of shape such that you need to push in a side with your fingers every time you try to fit the wood frame over it.

This is normal. As long as you get it to slide over, you’re good to go.

STEP 5

Using your right-angle triangle or square as a guide, bring the first two wood pieces together edge to face with a small amount of wood glue brushed onto one of the ends. Put a hefty book on top of the pieces to hold them in place and let them dry.

Do the same with the last two pieces, making sure each corner is as close to 90 degrees as possible. Then glue these two separate L-shaped halves of the square together.
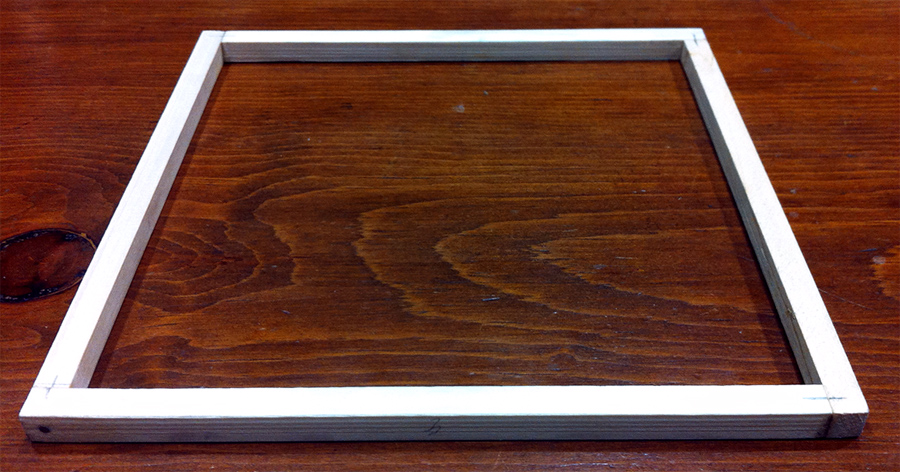
wood-frameWood frame assembled and glued.

NOTE: Rather than a triangle or square, I used an aluminum corner clamp to hold the pieces precisely together at 90 degrees while glued and also drilled tiny pilot holes in which I then hammered tiny nails to provide further support.

You don’t have to take these extra steps, I only did it to speed up the process and because I had these items on hand.

STEP 6

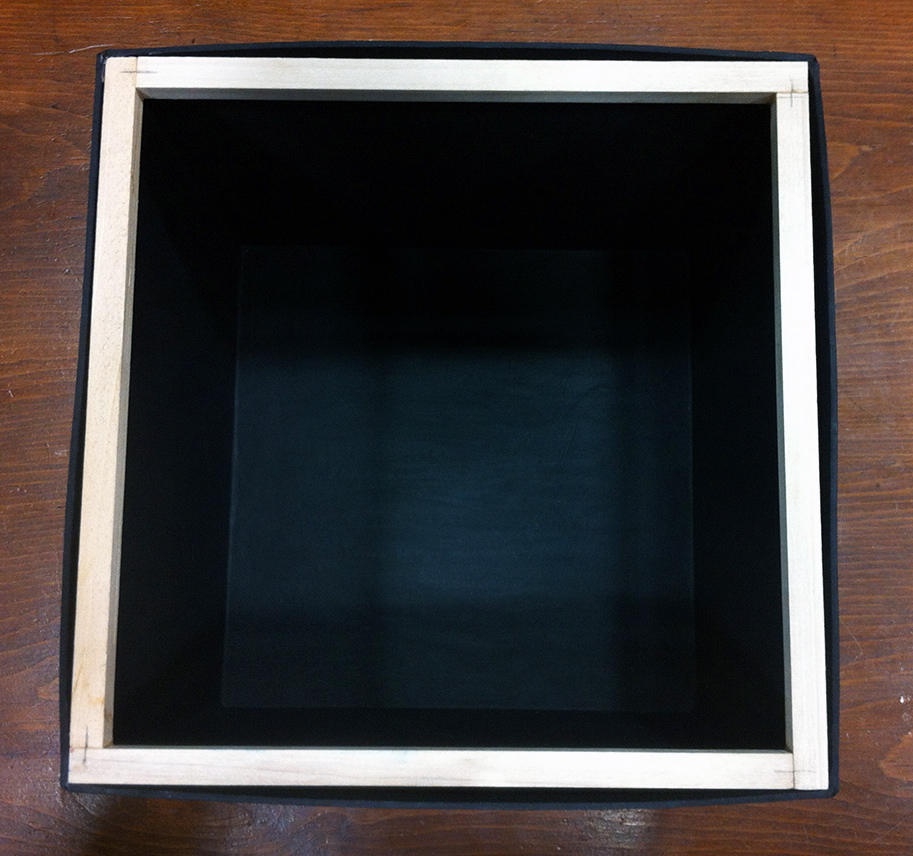
Once the square wood frame has completely dried, it’s time to glue it in place inside the larger box. Put a small bead of wood glue around the inner surface of the open end of the box (you can use a brush to even the glue out) and carefully fit the frame into place, making it flush with the open edge of the box.

Use clothespins to clamp it securely in place. I used five clothespins on each side. Wipe off any excess glue with a damp cloth or paper towel. Let it sit until dry.
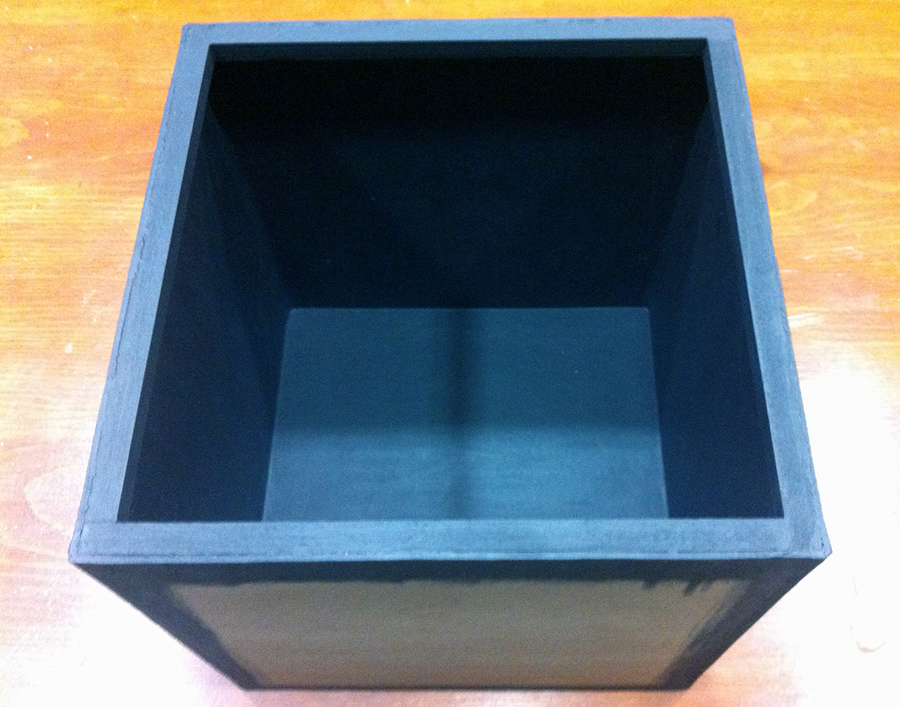
wood-frame-glued-in-boxWood frame glued inside larger box.

NOTE: To avoid possibly denting the paper mâché with the clothespins, you can protect it with folded up sheets of paper on the outside of the box. Take four sheets of paper, fold each three times; first in half, then again, and again.

Place the folded sheets underneath the clothespins on each side of the box. After the glue dries, the clothespins and paper can be removed.

STEP 7

The smaller box can now be glued to the top of the large lid. Place it there and center it. There should be roughly 5/8″ of the base visible around all four sides of the smaller box.

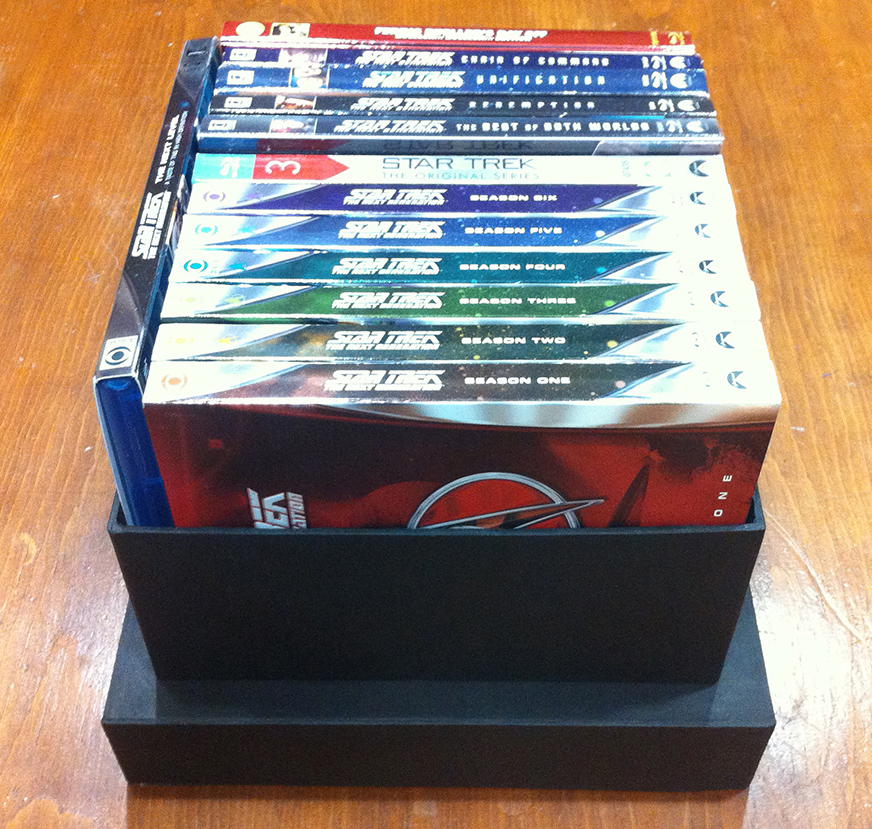
If you put your Blu-rays inside the smaller box to weigh it down and slide the larger box with your wood frame inside over it, you can check the fit and alignment of the cube relative to the base. There should be approximately 1/8″ of the base visible around all four sides of the cube.

base-with-blu-raysWe’re getting there!

Make note of which numbered side you prefer as the front. Take this moment to mark the lid/base with the same numbers on all four sides. Slide the larger box off and double check your measurements. If there is still 5/8″ around all four sides of the smaller box, go ahead and draw a line around it. Before you remove it, mark the smaller box with the corresponding numbers you put on the lid/base.

Apply glue onto the lid/base inside the area you just outlined. Brush the glue on thinly and evenly, then set the smaller box in place. Put a heavy book or two on top of the smaller box to hold it firmly in place while it dries. When the assembled base is dry, turn it over and copy the numbers on the base onto the underside of the lid.

STEP 8

Time for painting!

You’ll notice that I’ve already started to paint mine several steps back — which you can do too — but I decided to keep things as easy to follow as possible by saving that step until now (so you could still read your numbers).

For the outside of the larger box you need only paint the corners and edges black because the artwork will cover all five sides of the cube almost perfectly. It is up to you whether you would like to paint the inside of the cube (I opted to as you can see in the photo for Step 6). You will, however, need to at least paint the wood frame to make it look nice.

For the assembled base, you need to paint all of it black, including part of the underside. To know how much to paint underneath, take the smaller box’s lid and place it into the underside of the larger lid. There should be an approximately 1/2″ gap on all four sides between them. Trace around the smaller lid with a pencil to indicate how far you need to paint.
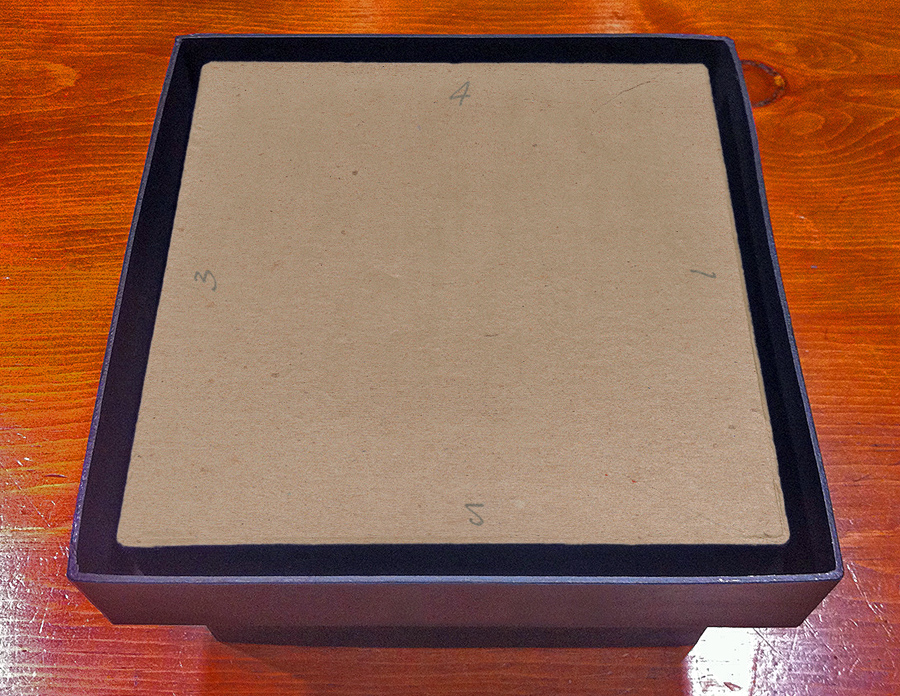
underside-of-base-unpaintedSmaller lid placed into the underside of the base.

Take this opportunity to transfer the numbers on the sides of the base onto the top of the smaller lid. The smaller lid needs to be painted black along the outward facing sides, but you can leave the top of the lid unpainted for now as well as the interior of the lid. When the paint is dry, put a bead of glue along the edge of the smaller box’s lid and place it into the larger lid. Allow it to dry.

NOTE: Use the black paint sparingly, the paper mâché has a tendency to warp very easily when wet. Even so, it will still warp slightly no matter how little paint you use. Don’t panic. As the box dries, it should largely return to its proper shape.

STEP 9

You’re now ready to cut out the artwork. Use your ruler and hobby knife to carefully cut out the designs from the printouts. Do this on a proper cutting surface.

NOTE: After cutting out the designs, I used a black permanent broad-tip marker to blacken the edge of the paper. Just hold the artwork up and run the marker along the edges, turning the artwork as you do. I took this extra step because the paper I opted to print on is 32lb weight and when glued against the black painted box the white edge of the paper would’ve been too obvious.

STEP 10

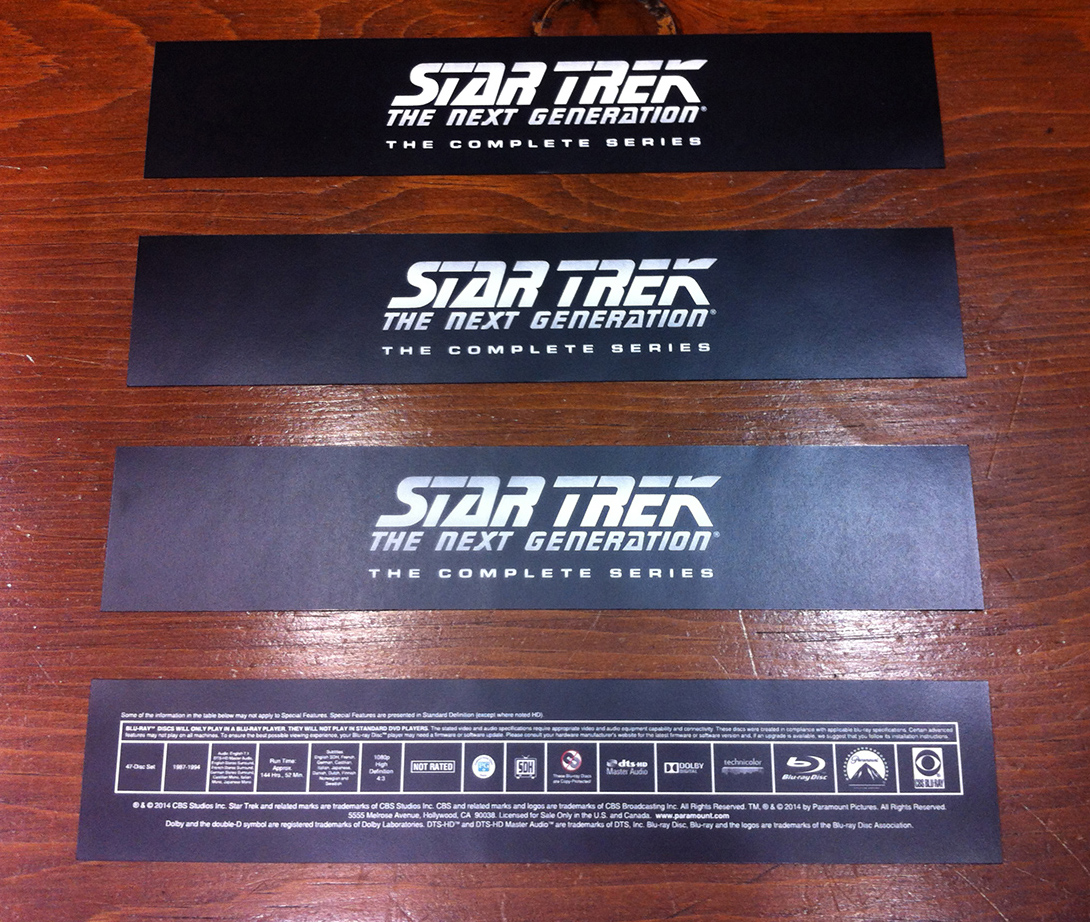
Now, organize your artwork. Decide what goes where based on the numbers you chose to mark on the box. Write those numbers on the back of your artwork and pay particular attention to the artwork representing the four outward facing sides of the Borg cube.

Make sure they are right side up according to how I designed them — I made sure to flip and rotate the images a certain way on each page so when the sides meet in three dimensions on the cube you don’t have the same pattern side by side.
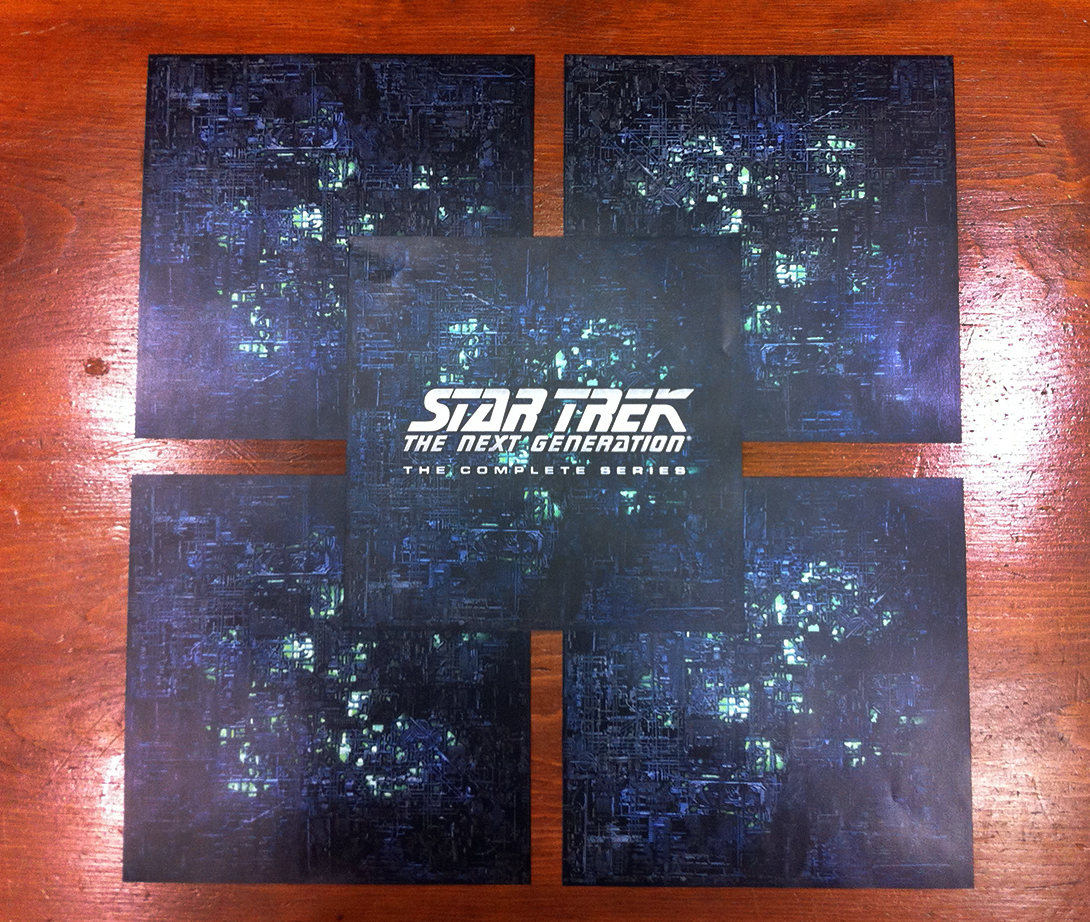
cube-artwork-cut-out base-artwork-cutouts
Left: Artwork for the cube.
Right: Artwork for the base.

Using your brush, apply a thin layer of decoupage glue (I used matte finish Mod Podge) to the back side of the base where the Blu-ray specifications artwork should go (that’s the one with all the corporate logos and copyright information). Follow the numbers you wrote on the bottom of the base to guide you.

Carefully place the artwork on the box. Try to keep it as straight as possible. If it goes on wrong, you can carefully peel it off and try again.

Use your finger to gently push down on the artwork and carefully smooth out any wrinkles (you can also do this with a soft rubber brayer or roller if you have it). Do this from the center of the artwork outward to push any bubbles of air that become trapped underneath.
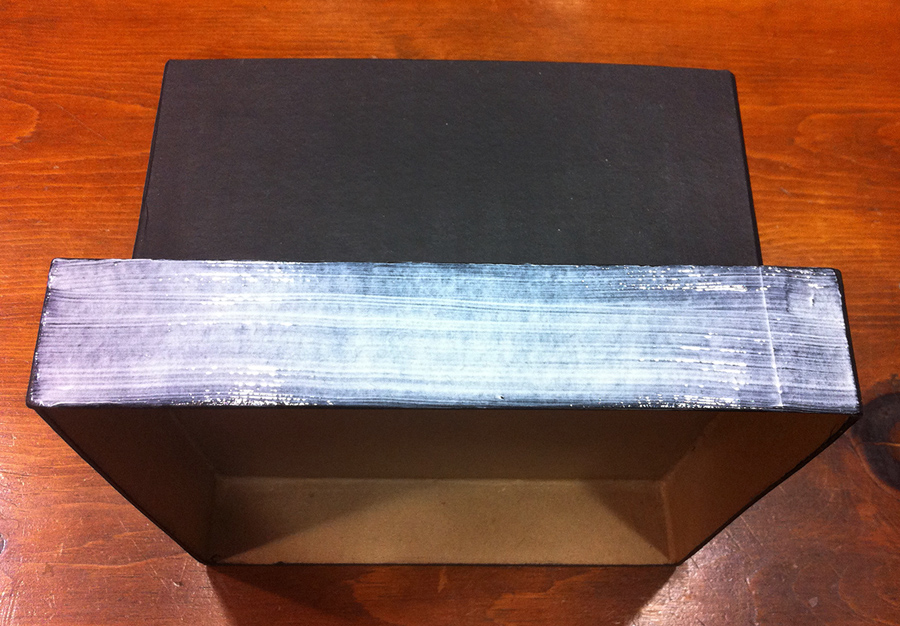
decoupage-glue-on-baseApply glue to one side of the base.

The surfaces of the box and lid are not perfectly smooth, so you will probably see imperfections and bumps through the artwork; that’s normal, just do the best you can — and don’t go overboard with smoothing things out either, you can actually cause the artwork to bunch up and wrinkle if you tinker with it too much. Use a damp cloth, a paper towel, or even your finger to wipe away any excess glue that might squeeze out. Do this for the three remaining sides of the lid/base with the artwork of the series logo.

Use this same technique with the artwork for the cube. Start with the back artwork and move your way around the box. Do the top last. Because these areas are larger, when you brush the glue on you must do it fairly quickly as the small amount of glue you use might begin to dry out by the time you are ready to place the artwork. If that happens, it’s okay to apply a little more glue to ensure there will be a good bond with the paper.
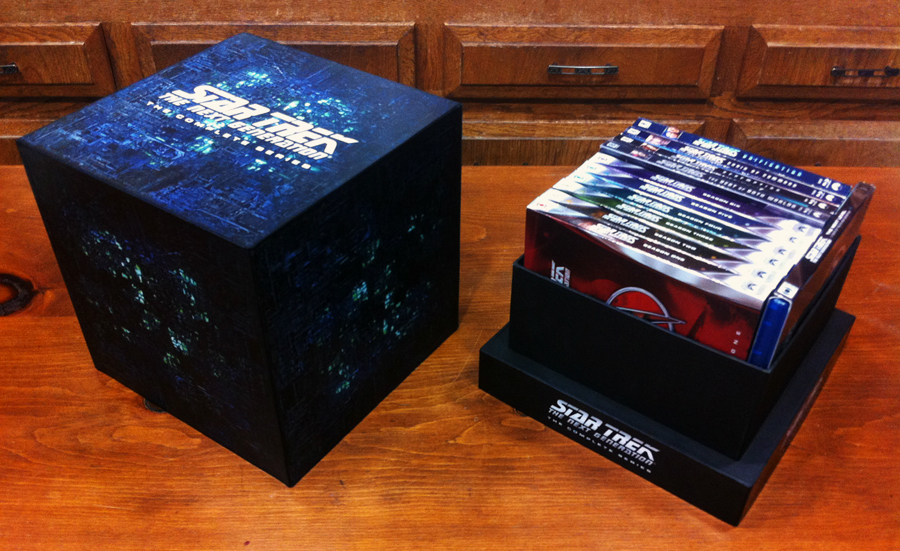
box-set-openBoth pieces fully painted and with artwork.

Because you are covering a rather large area with wet glue, the paper mâché box may start to warp. Mine tended to swell outward. Once you get the artwork placed properly, put a flat object (like a piece of plywood or a shelf from a bookcase) on top of it and weigh it down with some heavy objects (glass cookware, bowls, etc.). Let it sit like this for at least 20 minutes before moving to the next side of the box.

NOTE: If the edges of the artwork haven’t adhered to the box in certain areas, try to carefully lift the paper up with a toothpick and apply a small quantity of glue (preferably with a small brush) underneath the paper and press it down again for several seconds.

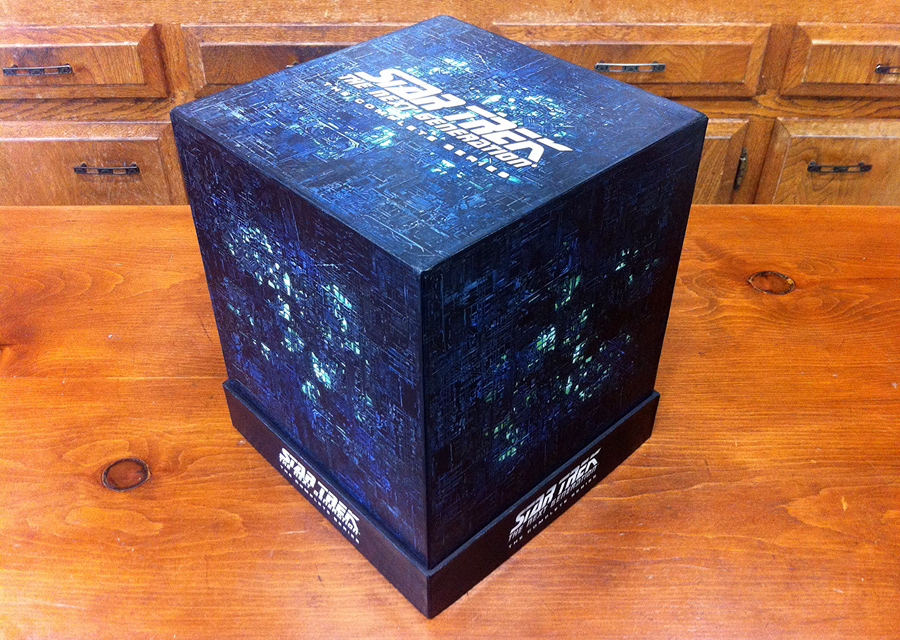
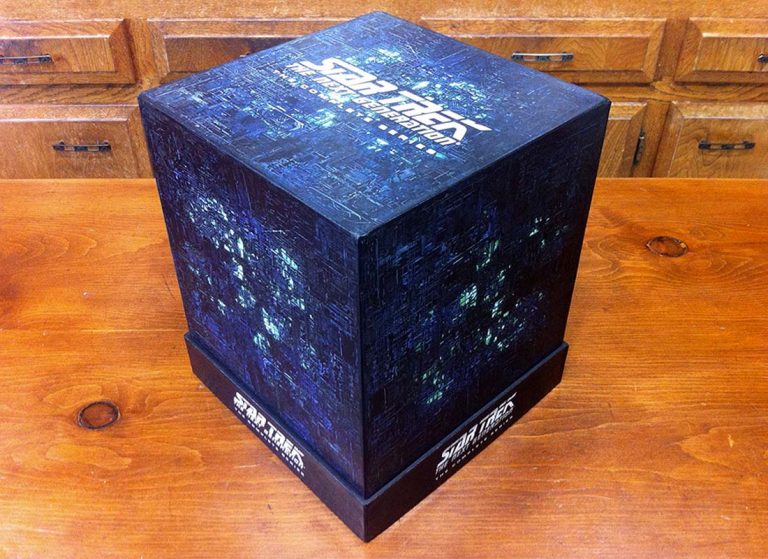
box-set-finishedFinished! Well, almost…

STEP 11

At this point you’re nearly done. If you notice that some of the sides of the box have warped or bent outward too noticeably after gluing the artwork, you can fix this by applying the following technique.

Place the cube top on a table with the side you’re interested in flattening face down. Using a spray bottle filled with water, lightly spritz inside the box on the reverse side and use your brush to spread the water around evenly so the whole area is uniformly dampened. Then place something heavy (like a heavy glass bowl) inside.

Let it sit like this for 20 minutes and then check it to see if that side of the box has been flattened back into shape. If it didn’t work as well as you’d like, repeat the process again.

STEP 12

You can now finish painting the very bottom of your project black.
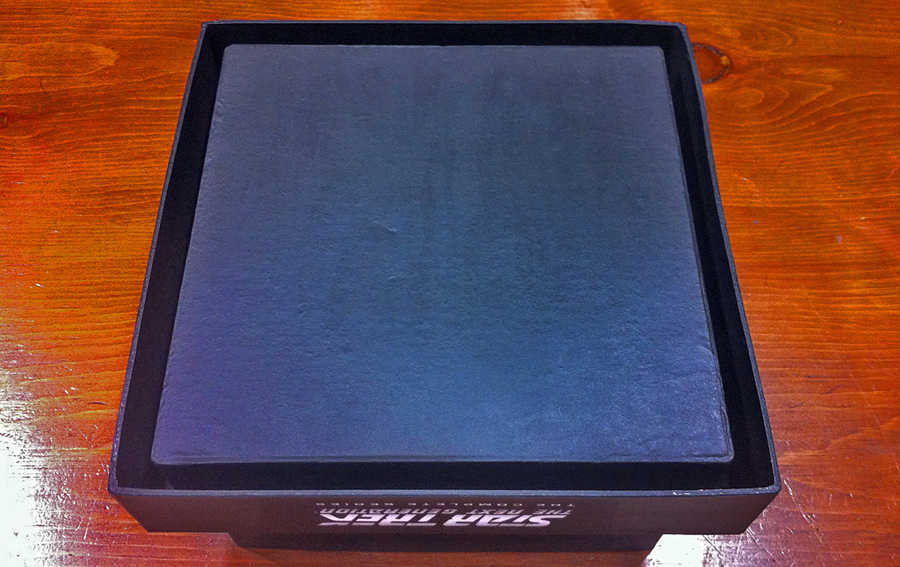
underside-of-baseSmaller lid glued in place, and painted black.

STEP 13

It’s now recommended that you seal the project with a water-based finish. While this step is entirely optional, it will help to protect the set from general wear and tear.

Even though you can use the decoupage glue as a sealer, I found with my test swatches that brushing it on top of the artwork left undesirable grooves from the brush bristles on the surface, so I opted to use a spray sealer. I encourage you to test these different techniques yourself with the test swatches included on the artwork and some of your discarded paper mâché pieces. That way you’ll have a better idea of what different sealing techniques on the paper will look like.

NOTE: I used Polycrylic water-based spray with a satin finish. When using an aerosol spray can, it’s important to get a plastic spray grip accessory that converts it into a spray gun. Otherwise, the tip of your finger might inadvertently get in the way of the spray stream and you will end up with ugly dots of sealer splattered on your project.

Follow the directions on the can for proper spraying distance, number of coats, drying time, etc. Use a mask and protect your work area with newspaper. When the sealer dries, you’re done!

div_spacer

If you’ve made it this far, congratulations! Enjoy your custom made Star Trek: The Next Generation: The Complete Series Blu-ray Box Set!

box-set-finished-open

If anyone has any questions about completing the build, please feel free to post a comment below and we’ll try to answer them and help you out as quickly and as best we can!

Trek Comics Review #39: “The Q Gambit, Part 5”

Our Trek Comics editor Patrick Hayes is back with a review of this month’s issue of IDW Publishing’s Star Trek comic series: the fifth chapter of “The Q Gambit,” an ongoing six-part saga.

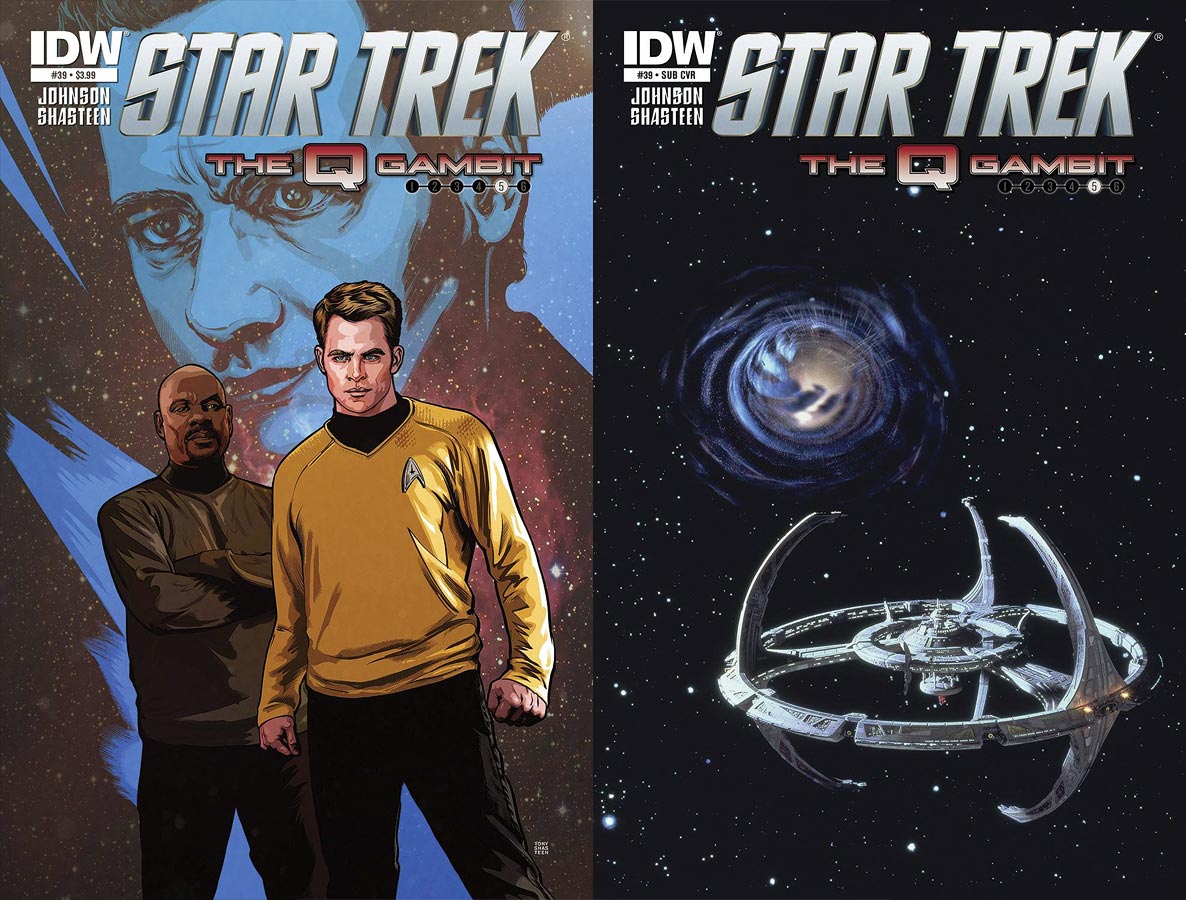
comic39

Order Star Trek #59

  • Interior artist Tony Shasteen created the regular cover with Sisko and Kirk before Q. Kirk has his fists clenched, ready for action, while Sisko is just behind him with arms folded, wondering if this legend is strong enough to assist him. The gigantic Q behind the pair looks hauntingly beyond the men, colored a ghostly blue with a starfield filling in the dark portions of his body. Excellent cover that hints at things without spoiling.
  • The photo cover is a standard shot of Deep Space 9 with the wormhole opening behind it. I would have liked to have seen the rebooted Enterprise or the Defiant in the same shot, but this is fine.

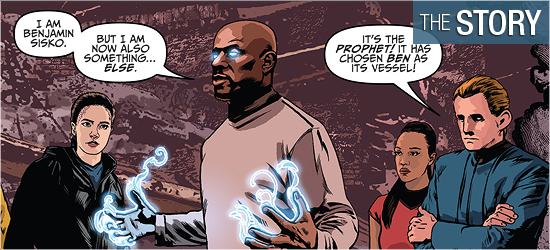
39-story

This penultimate chapter of “The Q Gambit” moves along at a really quick clip. The Defiant, piloted by Keiko O’Brien, arrives at resistance outpost Paradise only to find it smoldering from a Dominion attack. Kirk, Sisko, Odo, and Keiko beam down and are greeted by the bodies of the dead.

Thankfully, Sisko’s son Jake and Jadzia Dax are alive. They share information and the story then moves to Terok Nor where a Pah-wraith has possessed Gul Dukat before Kira, Spock, and McCoy. A moment of hope on Page 7 is destroyed on 8, leading to a not so unexpected turn on 11.

Writer Mike Johnson, manages to keep surprises popping up on every page starting on 13, as someone is going somewhere, 14’s death, 15’s reuniting, 16’s escape–I could go on. Page 22 has Q’s second appearance in this issue and he reveals whey Kirk and his crew have been sent tumbling into the future. This was a sensational justification for this epic and is completely reasonable.

Q always has a reason for needing humans’ help, and this is no exception. I’m sure the crew will come out of this just fine, but I’m dying to see what becomes of the surviving future Trek characters. It’s going to be a long 30 days.

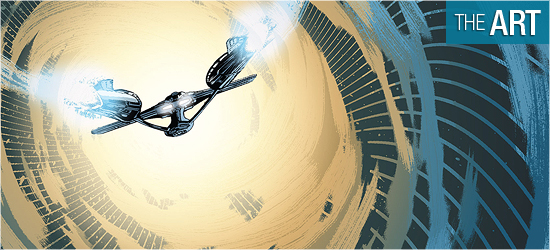
39-art

The visuals are again provided by Tony Shasteen, but they don’t seem to be as photo referenced as they have been in previous issues. Does the art suffer because of this? Not at all!

The beam down scene on 3 looks great with a destroyed structure and the Defiant behind our heroes. Sisko’s expression at the bottom of that page carries a lot of emotional weight as he turns. Gul Dukat looks tremendous on Page 6, with Kira looking rightfully terrified. The action on Page 8 is superb and the last panel is downright demonic. Sisko again gets the spotlight, this time on 11, looking pained.

Minor glitches do occur — McCoy on 8 and 9 (What is it with Karl Urban’s likeness that proves to be troublesome for so many artists?) and Q on 10 and 22. The other 99% of this book looks great, but when everything looks so good these moments do stick out.

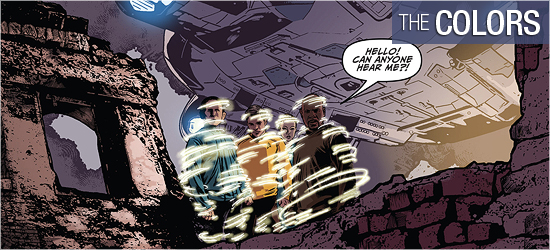
39-colors

Beautiful coloring on this book from Davide Mastrolonardo. His lighting effects are really accomplished well, such as in the first panel on Page 1, the beaming effect on 3, and the energy effects on two key individuals. These same two characters are illustrated without pupils to allow the colors to denote their new existence, and Mastrolonardo makes both equally powerful.

Rather than resort to the dark overpowering browns and blues of the this dystopian future, Mastronolonardo mixes in some bright colors for backgrounds to break up the page, which he does exceptionally well on Page 17.

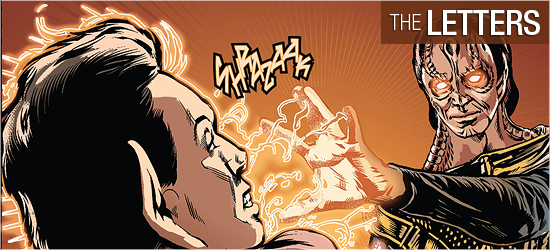
39-letters

Scene setting and dialogue (the same font) and a few key sounds are provided by Neil Uyetake. The sound effects are very inconsistent on this issue; for example, a phaser shot is seen and heard on Page 20, but when a shoot out follows the battle is oddly silent.

There was more than enough space on Page 21 to include the phaser blasts, but the scene is sadly mute. What gives?

Trek Comics Review: New Visions #4

Our Trek Comics editor Patrick Hayes returns with a review of this month’s issue of IDW Publishing’s Star Trek photobook comic series New Visions.

Order New Visions #4

Kirk is startled as he’s surrounded by his puzzled bridge crew. This image would be puzzling for readers as well were it not for the ghostly outline of Harry Mudd around the captain and the title “Made Out of Mudd.”

This infamous villain made a teaser-cameo in the previous issue, now wearing a body that made him resemble Kirk, so I’m happy to see John Byrne focus on this character this time around. I love the faraway look on Jim and the other characters look great in different poses of alarm and disbelief. A nice selection of individuals and emotions to convey what lies within.

nv4-story1

Two complete tales in this issue, including a two page teaser for the next installment.

The main story is the 39 page “Made Out of Mudd.” Tau Delta IX, a shuttle comes in for a landing. Its pilot is Captain James T. Kirk. Approached by a lieutenant asking to see his flight clearance, Kirk produces a phaser and stuns the officer. Making his way to the communications center, all the while muttering to himself in uncharacteristic dialogue, Kirk promptly phasers everyone.

He makes a few adjustments to some computers and waits for a recording to finish, but is interrupted by a security team who recognize him. Surprisingly he raises his hands and asks to be arrested. I went into this story expecting shenanigans involving Harry Mudd that have been done by countless other writers in novels and comic books.

Mudd is a character that evolved into easy laughs with his last appearance in “I, Mudd,” but he was much more cunning in “Mudd’s Women.” This latter incarnation is the Mudd that John Byrne uses in this tale and he’s much more enjoyable. There are also two other major antagonists form other episodes in this story that increased the tension and sent the story spinning into unexpected and highly enjoyable areas: I was floored to see the first individual on Page 10 and the other on 24 had me yell out, “Yes!”

I admit to being very mixed to how the story’s title character ends up. It fits in absolutely perfectly with the story and leads to some fun closing dialogue, but the visual makes me wonder if this was pushing the humor too far. This is a minor speed bump for me, as I enjoyed every other part of this outing.

nv4-story2

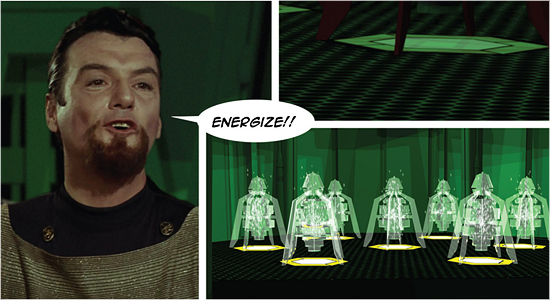
The second tale is a four pager introduced as Star Trek: Klingons.

There is a title stated but that would spoil what occurs. To discuss it as vaguely as possible, I loved this. It’s been mentioned as an aside in another series, but to see it occur was great. I was pleased as punch to have three familiar faces in this story. I loved the line, “Ah-hh…Now there is a most satisfying sound!” The conclusion is equally satisfying with the final eight words being a hilarious coda on the entire affair.

The first story was the perfect mix of fun and thrills featuring some surprise appearances, the second story finally shows an event that has serious overtones for a particular race, and the tease for next issue has me as giddy as a schoolboy in anticipation. This issue misses a plus grade because of the final page from the first story.

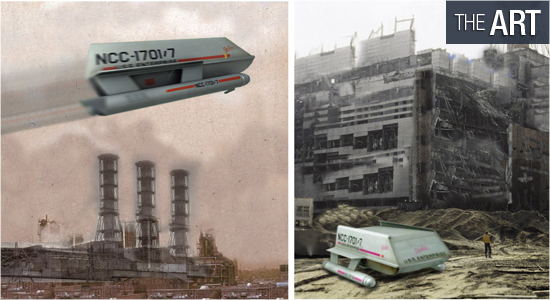
nv4-art

As with previous issues, this photoplay by John Byrne uses images from classic episodes, as well as those manipulated by the artist or those that are new. I’m always eager to get a new adventure of Kirk and company in this format because it’s like finding a lost issue.

My favorite shots of the captain include Page 2, panel two; Page 5, panel seven; Page 8, panel one; the contrast between panel three and five on 11; and panel four on Page 38. Also a highlight was the person in the final panel of Page 10; panels four and seven on 14; the first panel on 19; and the top of 32.

It’s also a delight to see the individual on Pages 24, 27, and 33 – 37. I just have to see that person smile and I’m grinning with him.

Also impressive are the created images by Byrne. I’d swear I can make out Kirk’s face through the window of that landing shuttle on Page 1, but I’d have to go High Anxiety on it to be sure. The communications department on 3 and 4, Dr. Hamilton’s office and the Sick Bay on 5, the setting and device on 13, the shadow work on 22, the bridge on 24, and more excellent shadow work in the sixth panel on 30 are all superior locations.

Bottom line:

Every Trek fan should have every issue of this series, including New Visions #4. With each new tale from the Original Series it’s impossible to resist getting caught up with the action and heart of that series. Always recommended.

Build a Custom STAR TREK: TNG Borg Blu-ray Box (Pt. 1)

We’ve got a couple of custom Blu-ray artwork designs to share with you, to help showcase your Trek collection — and we’re starting today with a first look at a massive do-it-yourself Next Generation collection box set, by TrekCore contributor Justin Olson!

div_spacer

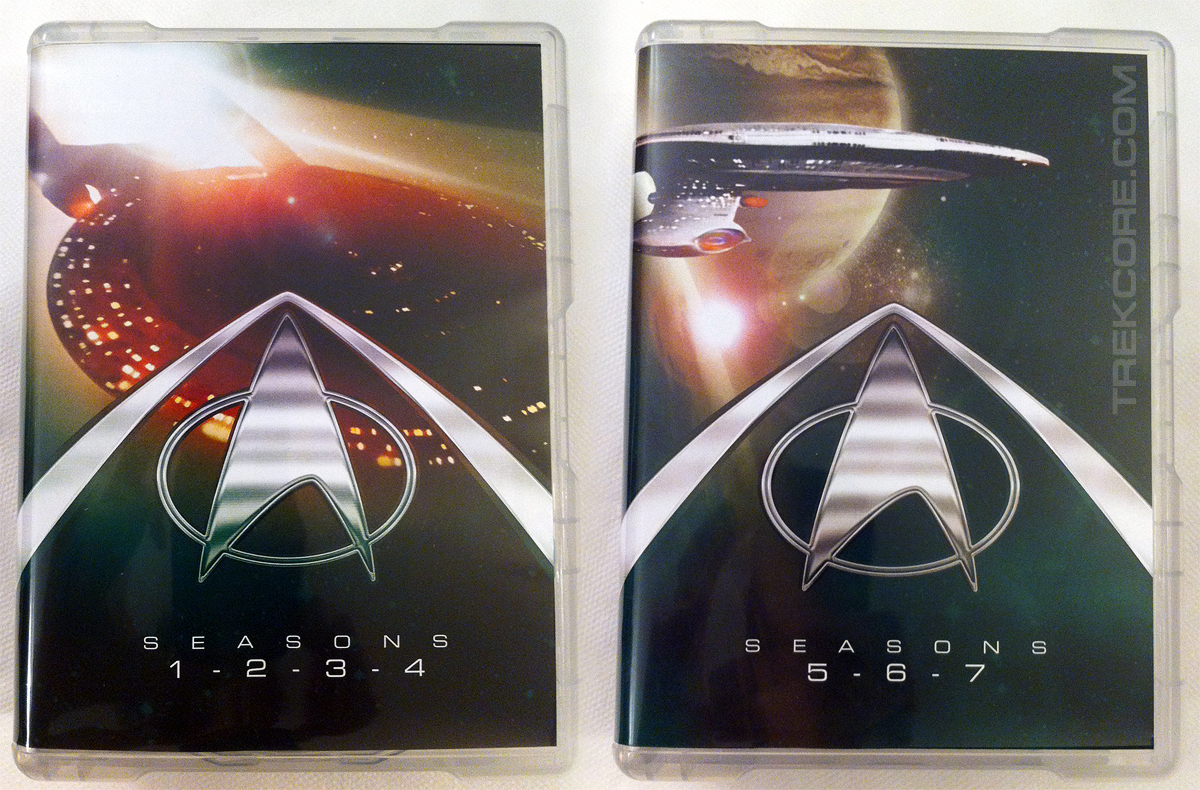
box-set-finished-spreadJustin Olson’s custom Borg Cube Blu-ray collection

If you’re anything like me, odds are you followed CBS’s superlative TNG remastering project from the very beginning when it was first announced, all the way back in September of 2011.

You may have even purchased — with great anticipation — every Next Generation Blu-ray disc released, from the original Next Level sampler disc all the way through this month’s final Season 7 set. By now, if you’re one of the die-hard collectors, you’ve likely got all 13 Next Gen sets on your shelf.

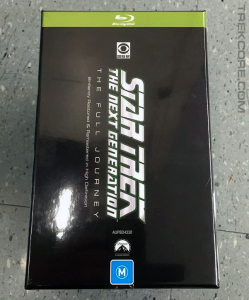
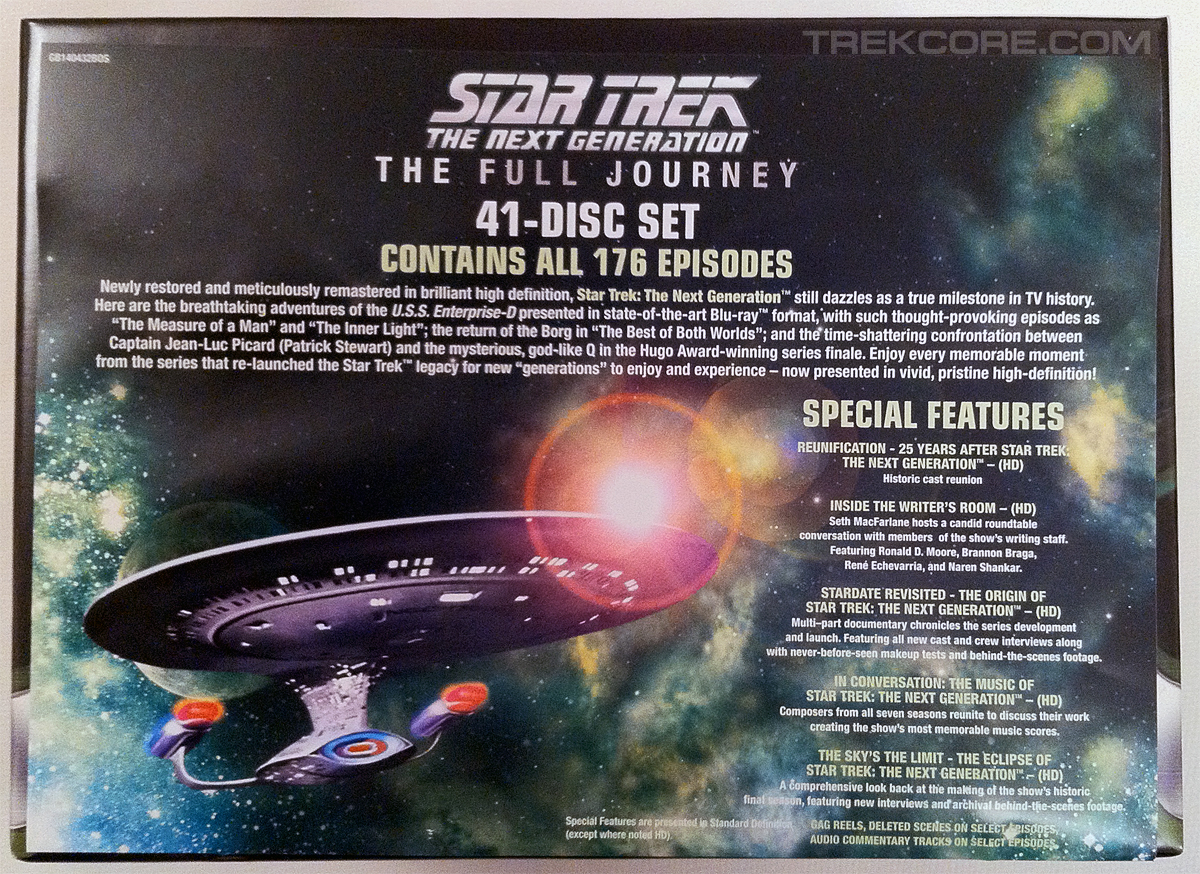
As we’ve reported, a complete-series “Full Journey” box set has been released in both Australia and the UK, though it’s missing the five standalone discs released in North America and a few other regions over the years.

If you’re only interested in the seven-year packaging, you could buy it like those who have waited until now to own the series — it is region free, after all — but that’s a major purchase if you’re only looking to upgraded your disc cases.

Bottom line: if you like what you’ve already got, but are looking for a classy-looking way to store the great Next Generation Blu-rays, read on!
Inspiration

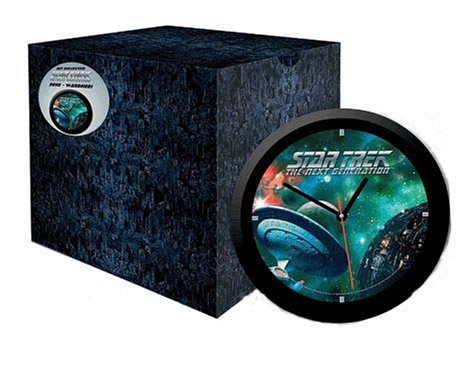
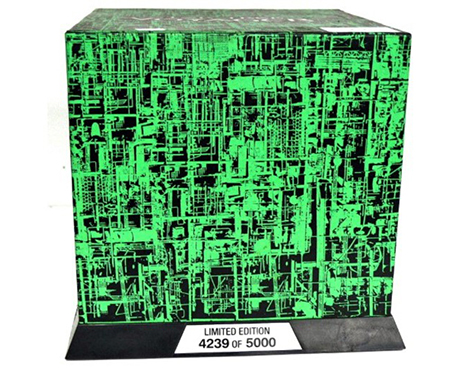
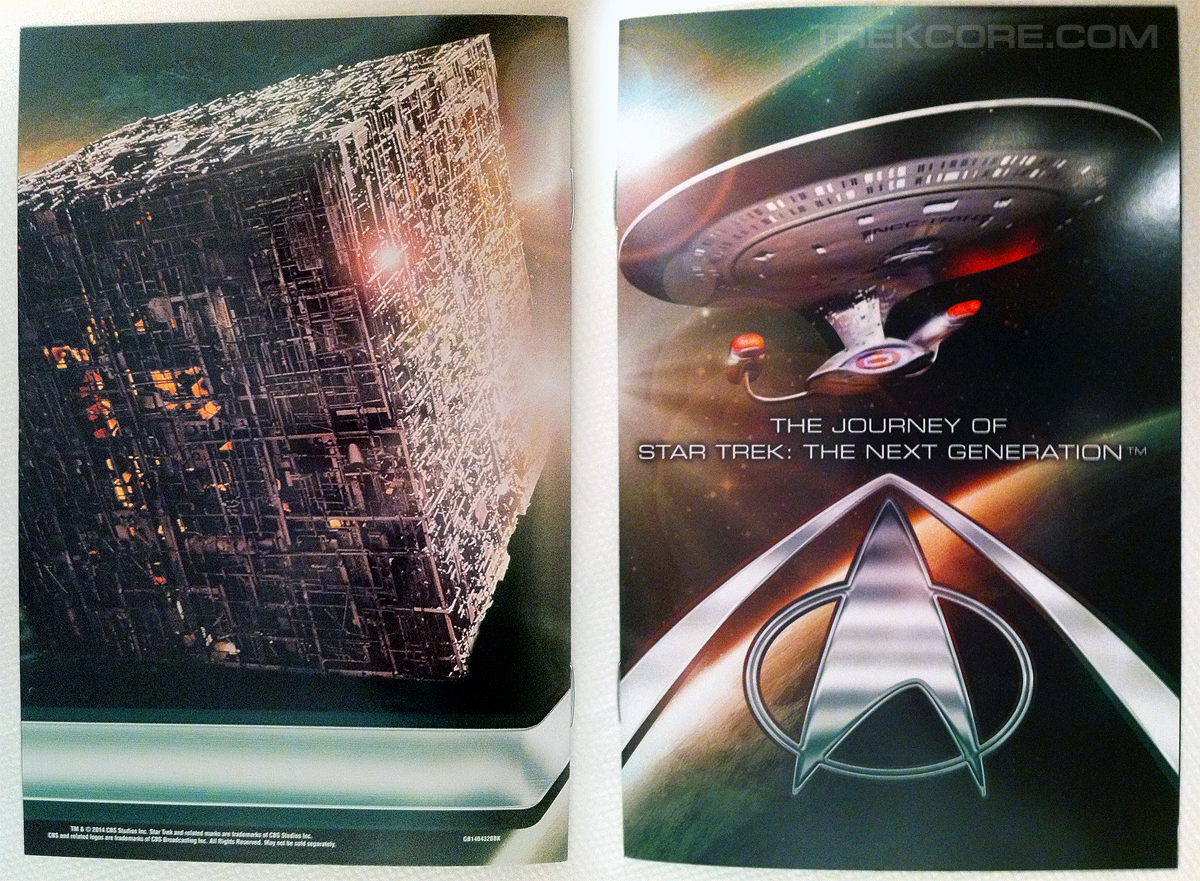
About two months ago, as the street date for the final two TNG Blu-ray sets loomed ever closer, I became intrigued with the idea of creating a custom box set for all thirteen releases. Doing some preliminary research, I quickly found images of a limited edition Region 2 DVD set for TNG (that came with a clock!), and a Region 4 DVD set for Voyager, each designed like Borg cubes.

tng-borg-mega-cube voyager-borg-cube-dvd-set

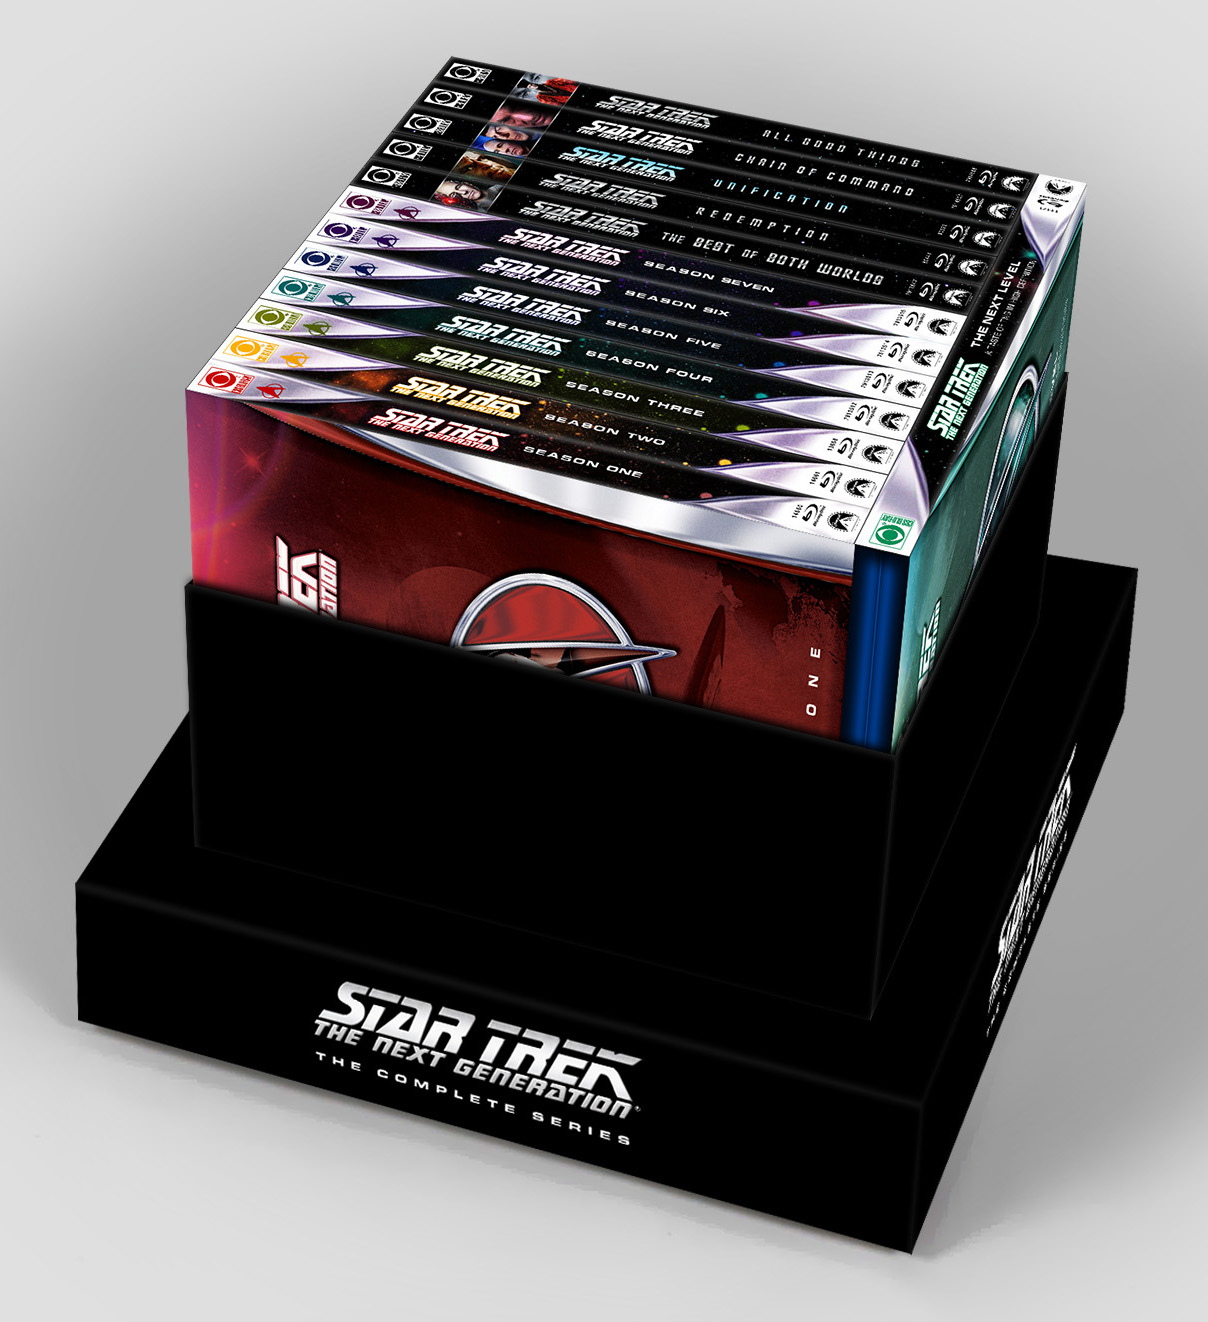
It soon became apparent that making a version of these sets for the TNG Blu-rays might actually be achievable. The goal was to design and build something that looked at least as good as those releases and not cost an arm and a leg — or at least, not more than the typical cost of a single season of TNG on Blu-ray. Also, I wanted to make sure this design would have room for the Next Level sampler, as well as the standalone discs.

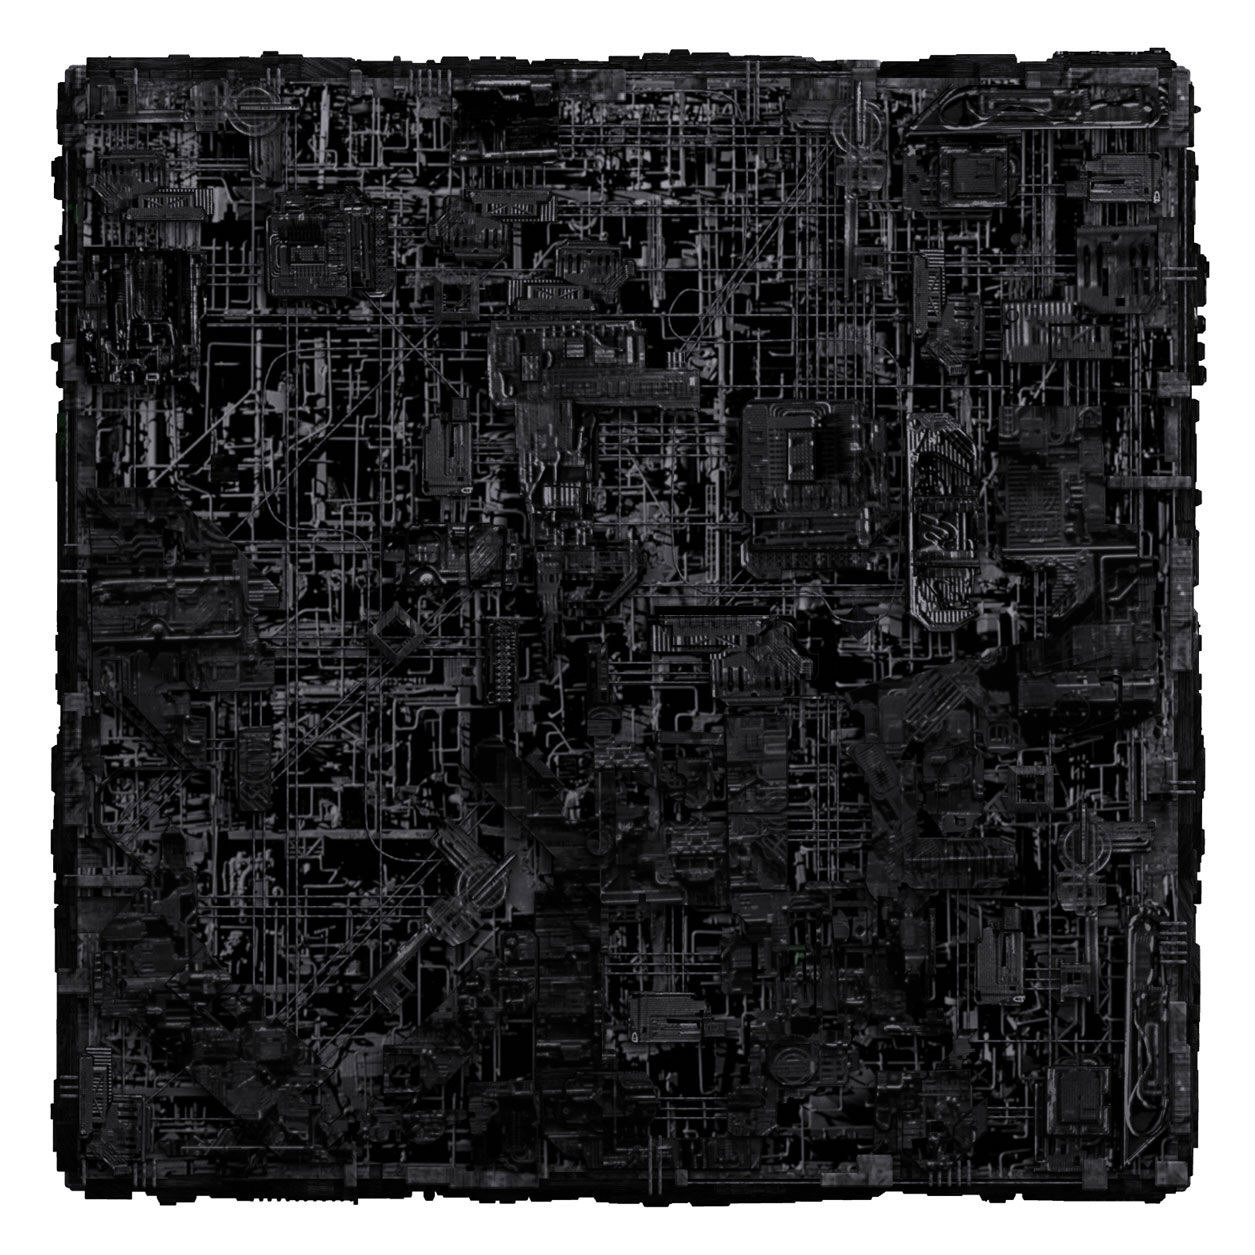
After a little digging, I found a high resolution image of a Borg cube on Ex Astris Scientia that, according to them, originated on Drex Files, the eponymous blog that was run by Star Trek makeup and visual effects artist Doug Drexler:

borg-cube-front

Much of the credit here goes to Mr. Drexler for making this image available in the first place, as I would not have been able to create as detailed and realistic an image of a Borg cube without it as the basis for the artwork you see below.

Designing the Set

I began to modify the Borg cube image, trying different looks, shifting the overall tone toward blue, adding a dark vignette around the edges, etc. I knew that, rather than appearing dormant and deactivated, I wanted it to look as if it were alive and lit from the inside as it appears on the show.

box-set-finished-backOuter shell design

I also added some bronze hues on the outer surface to better mimic how the model’s paint job appears in the new remastering. In particular, TrekCore’s striking new Blu-ray screencaps of the landmark double episode “The Best of Both Worlds, Parts I & II” were of great help.

Unfortunately, no entirely accurate vectorized version of the series logo is available online (that I could find, anyway), so I had to start with a pair of freely available Next Generation title fonts. Working on each letter separately, I carefully positioned and adjusted them as best I could over the design currently used by CBS on the official Blu-ray packaging as a guide.

But that only got me so far, so I had to convert the text layers to shapes and modify them further as paths, all while keeping it vectorized so it would stay sharp at any size.

box-set-insideTest render for internal design

I next tried to track down the various corporate logos (the website Brands Of The World came in very handy here) and other familiar home video symbols and copied the lengthy disclaimers and copyright notices found on the backs of the official TNG Blu-rays.

Some logos were ever so slightly different than what was freely available (like the Paramount and CBS logos), so I modified them to make them look as accurate as possible.

Designing the Booklet

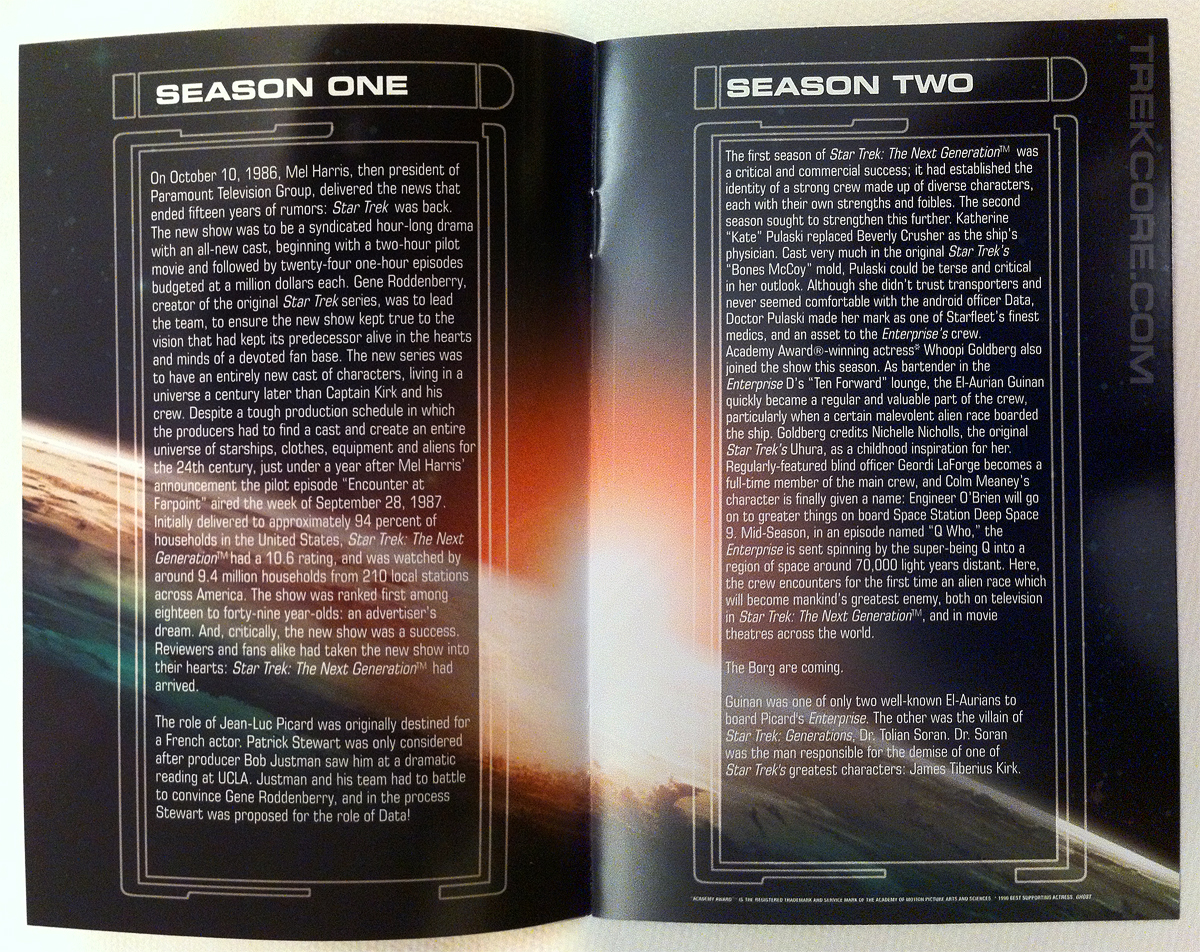
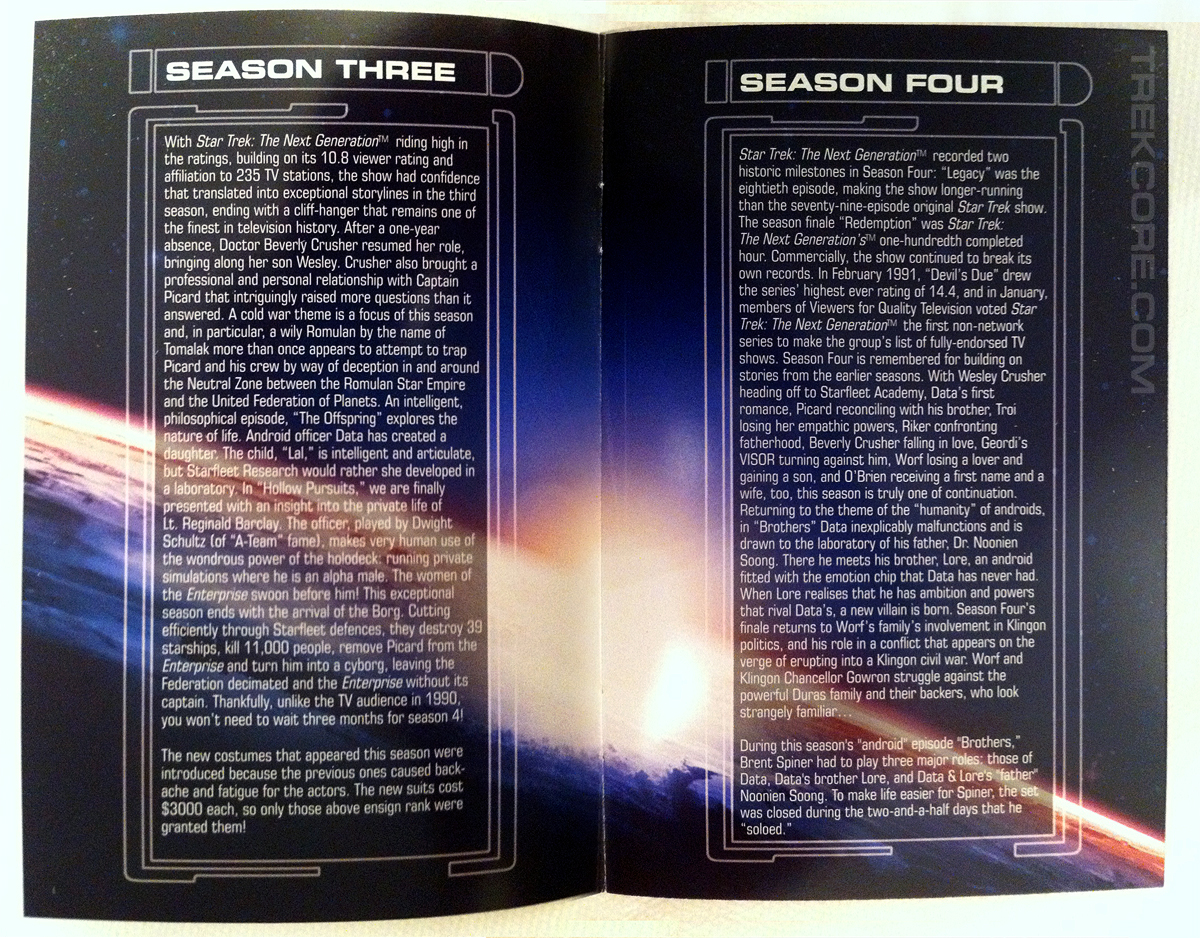
Lastly, the episode guide booklet I wanted to design as a companion piece. Booklets such as these are helpful additions to box sets I think, and are often sadly overlooked in many Blu-ray releases in North America. While I’m the kind of fan who knows the episode titles by heart and can tell you which season a particular episode can be found in, I haven’t yet memorized what Blu-ray disc houses which episode.

It’s true that CBS does provide a listing of disc contents on the reverse of the artwork found inside of every season, but what if you haven’t decided what episode you wanted to watch yet, let alone what season? Wouldn’t it be helpful to be able to search through a booklet that contains all the episode titles along with their loglines?

The creation of this booklet was fairly straightforward, as I’d done a lot of the work already, having designed custom TNG episode inserts and guides since Season One came out, both with lists of disc contents and ones with episode summaries.

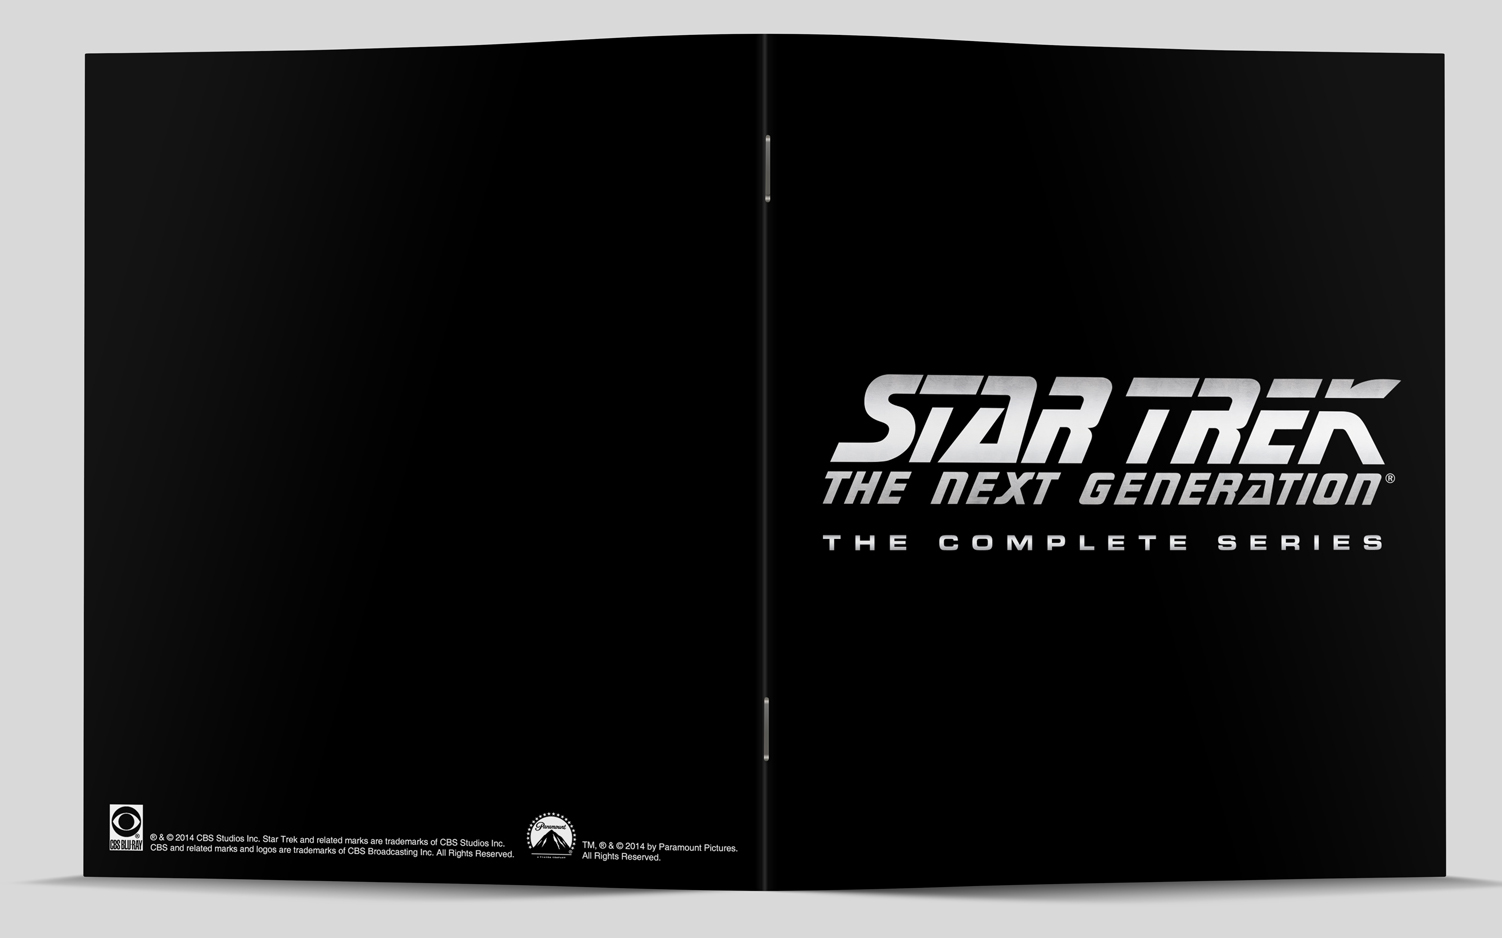
booklet-mockup-cover-pages

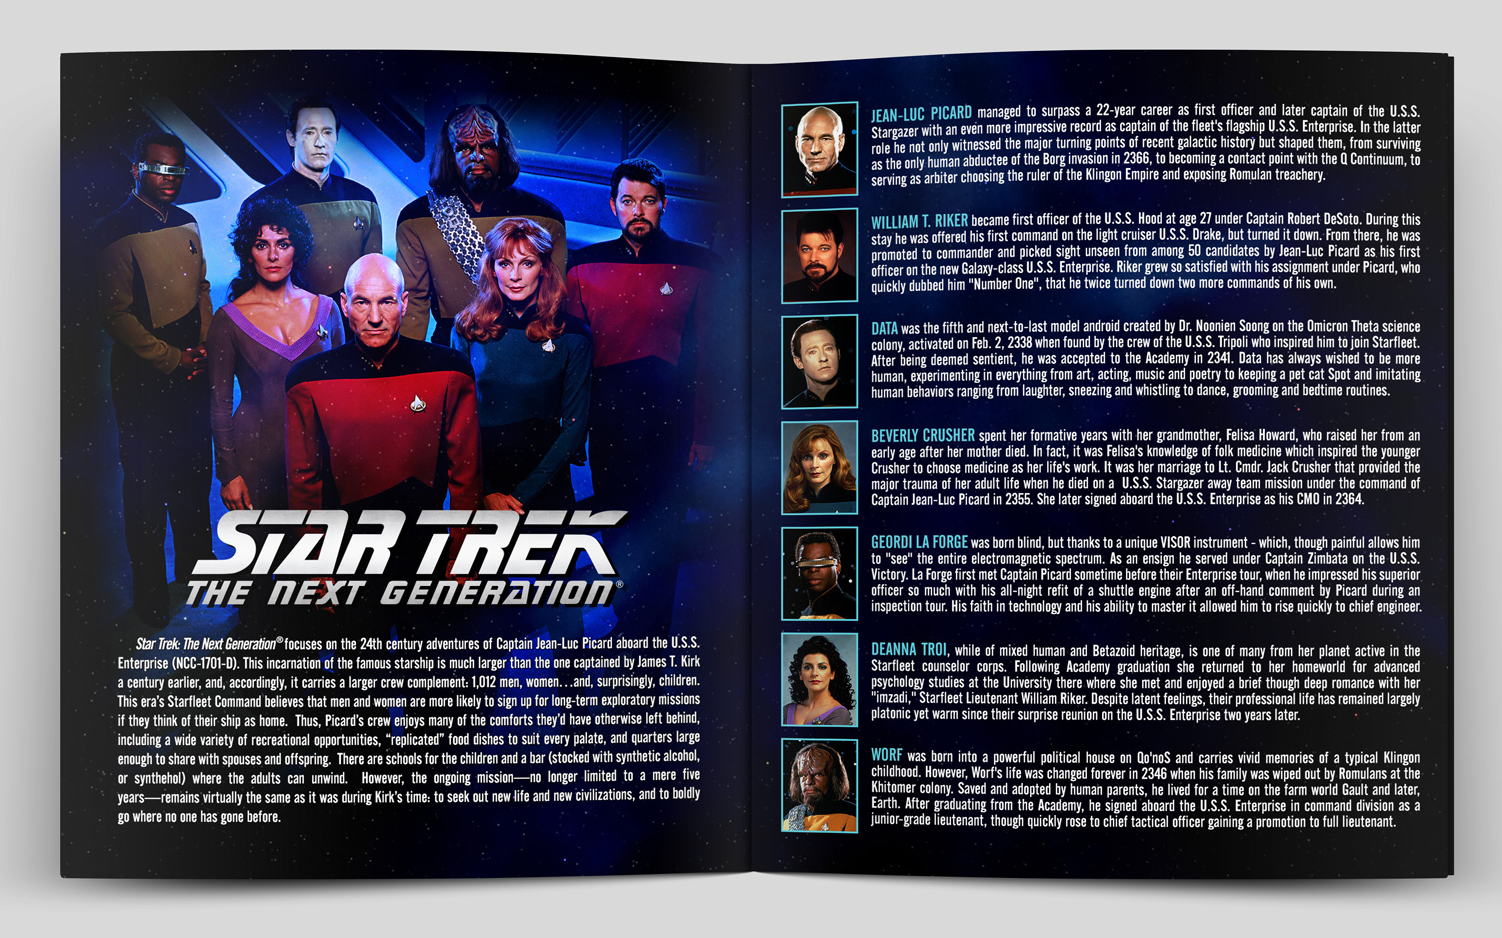
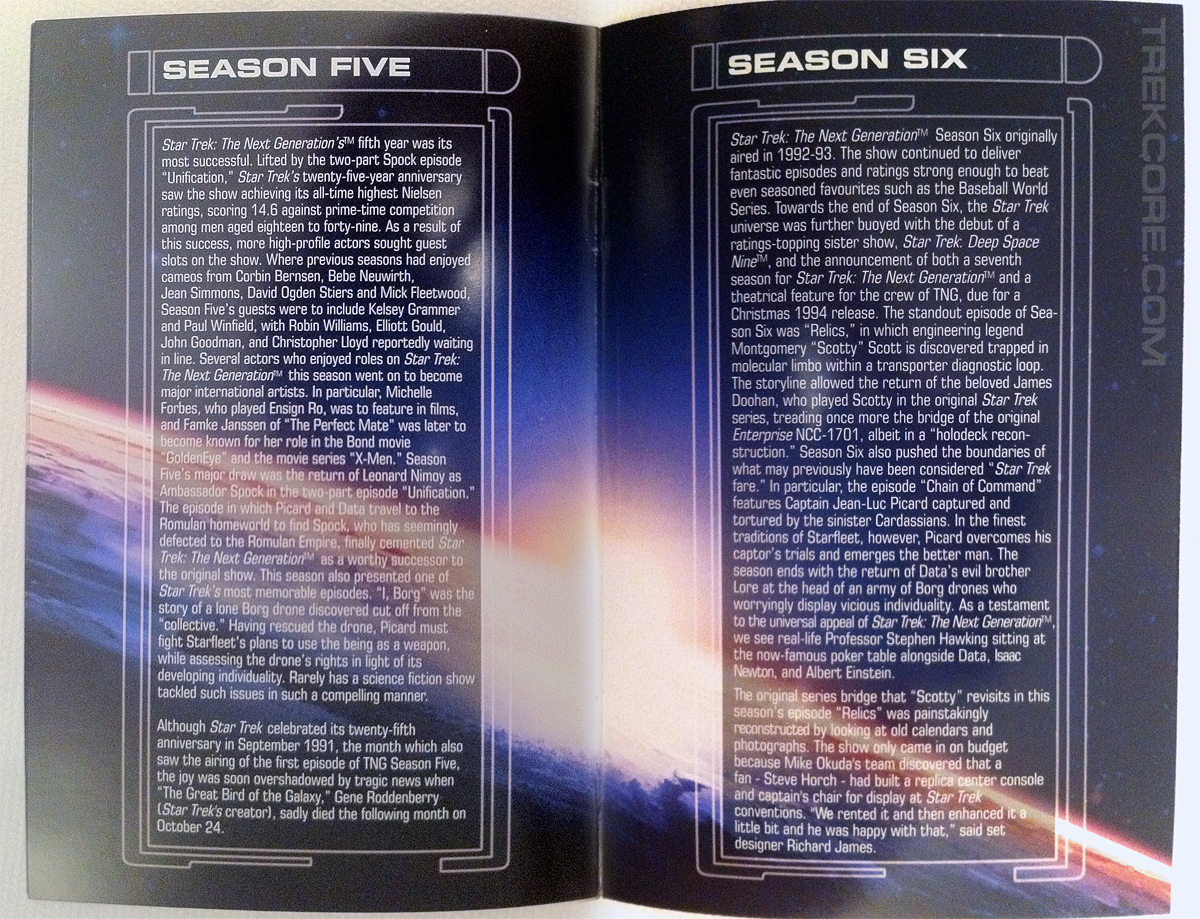
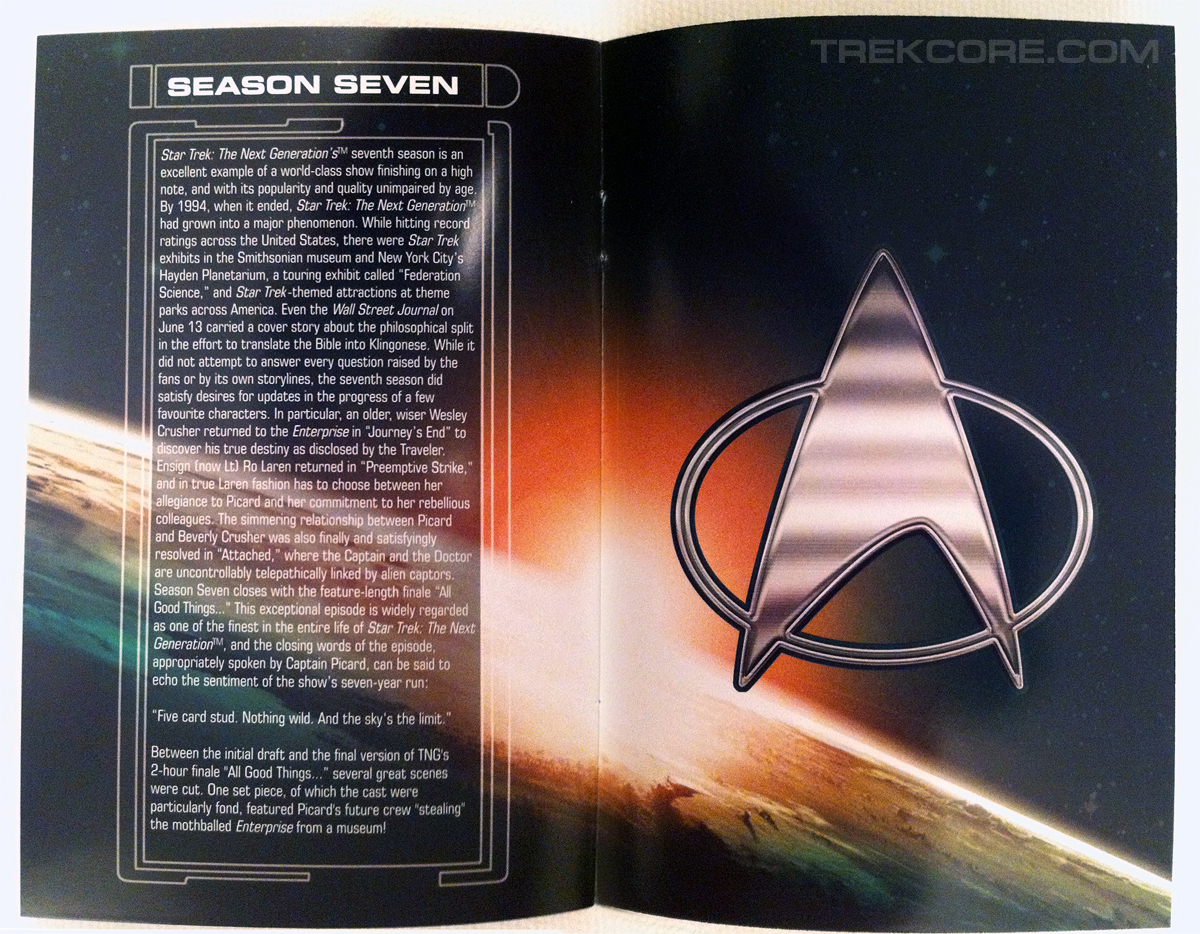
Inside this 18-page booklet you’ll first find a nice cast photo, along with information about the show that appears on the official Star Trek website as well as brief crew biographies of the senior officers (also derived from those found on the official site).

booklet-mockup-pages-01-and-02

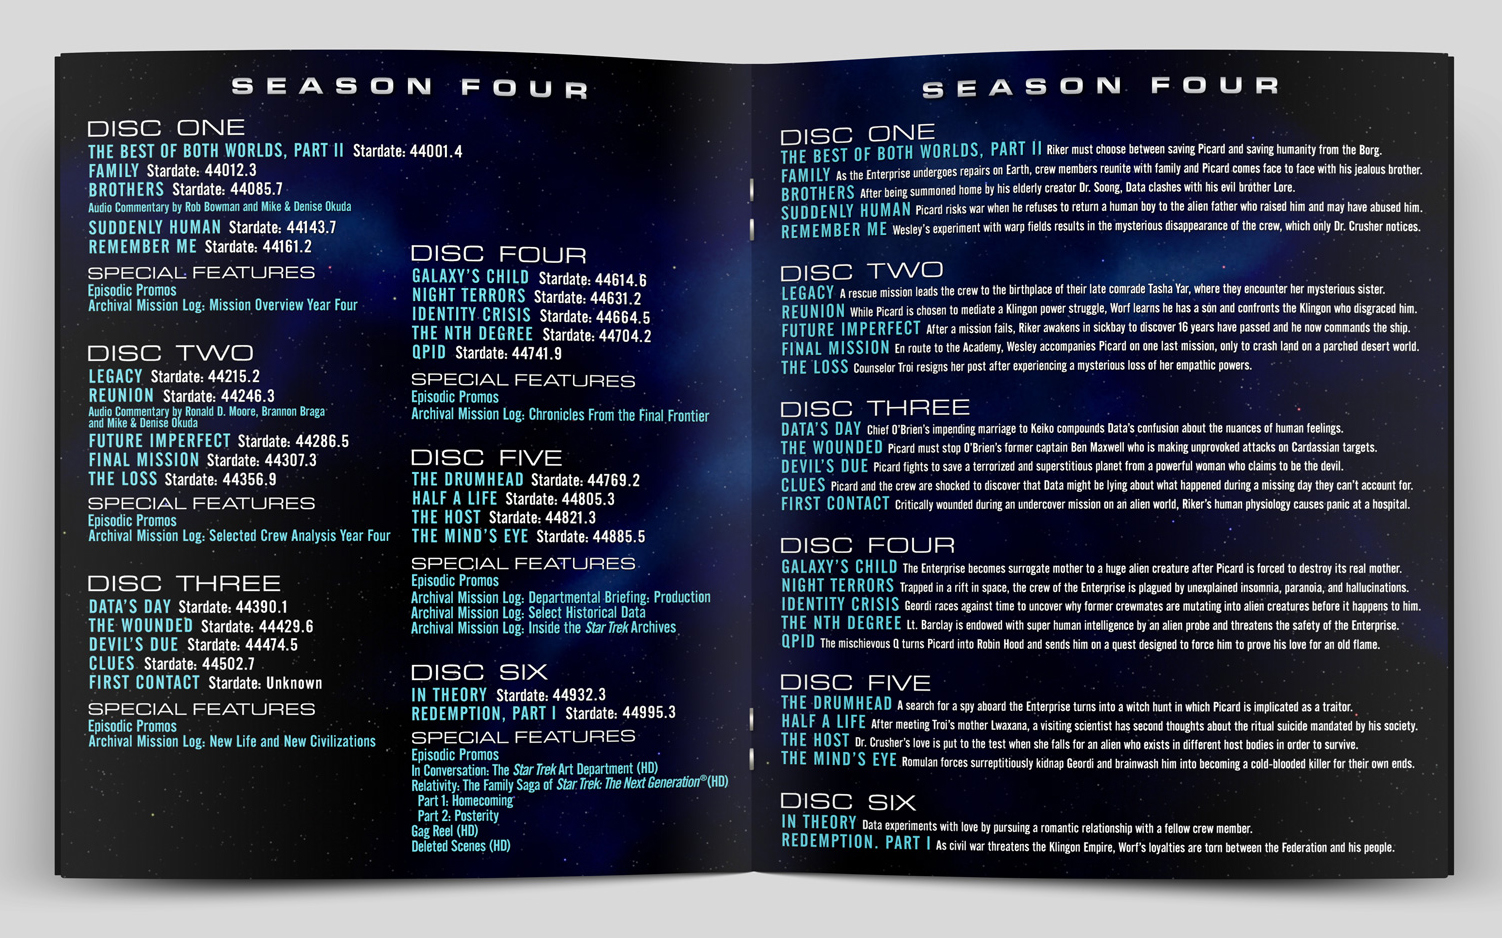
The season specific disc contents and episode summaries can be found on page 3 through 16 of the booklet. The summaries come from Paramount Television’s decades old highlight listings for each episode — summaries that are still used to this day on CBS’s website — though I’ve condensed them somewhat in certain cases to make them fit on a single line.

Each season has two pages of information. On the left side you’ll find the aforementioned disc contents; on the right you’ll find the episode summaries.

booklet-mockup-pages-09-and-10

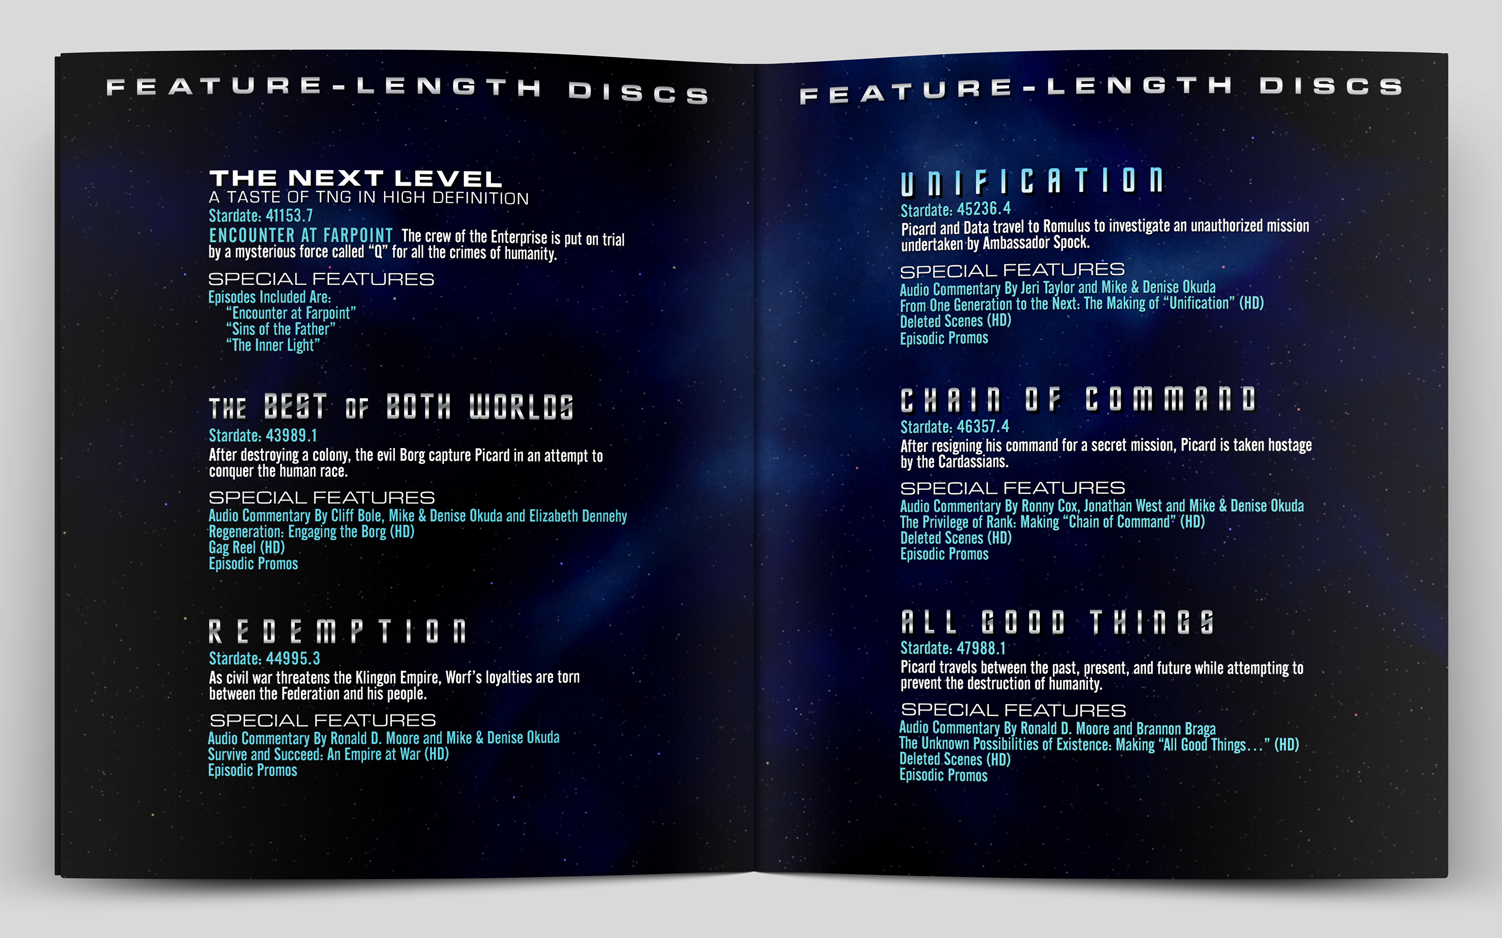
The last two pages of the booklet list the six standalone, feature-length Blu-ray releases and the special features that can be found on each disc.

booklet-mockup-pages-17-and-18

div_spacer

Next: Build your own Borg cube collector case!

“Fast and Furious” Director Justin Lin Lands TREK 3

DEC. 23: Trek 3 now has a release dateJuly 8, 2016.

div_spacer

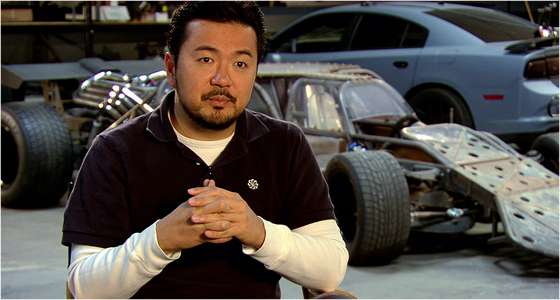
News is breaking this evening that Justin Lin — director of the last four Fast & Furious films — has been tapped by Paramount Pictures to take the wheel on 2016’s Star Trek 3 in the wake of Bob Orci’s departure earlier this month.

justin-lin

Lin, who built up the Fast & Furious franchise into a $2 Billion global juggernaut for Universal Pictures, was originally set to direct the upcoming Bourne Legacy sequel with star Jeremy Renner. That film, however, was delayed when news broke in September that Matt Damon would be returning to do a new Jason Bourne film, which freed up Lin’s schedule to fit Trek 3 into his plans for 2015.

Additionally, Lin is now the first non-Caucasian director set to take on a Star Trek film — the biggest step Paramount has yet taken to secure their desired global box office domination for the 2016 release.

div_spacer

Source: Deadline Hollywood, Variety

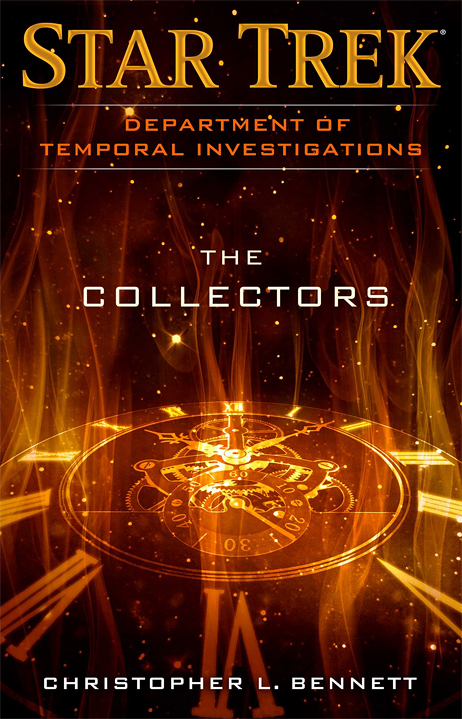
REVIEW: Temporal Investigations — “The Collectors”

The dedicated agents of the Federation’s Department of Temporal Investigations have their work cut out for them protecting the course of history from the dangers of time travel. But the galaxy is littered with artifacts that, in the wrong hands, could threaten reality.

One of the DTI’s most crucial jobs is to track down these objects and lock them safely away in the Federation’s most secret and secure facility. When Agents Lucsly and Dulmur bring home an alien obelisk of incredible power, they are challenged by a 31st-century temporal agent who insists they surrender the mysterious artifact to her. But before they know it, the three agents are pulled into a corrupted future torn apart by a violent temporal war.

While their DTI colleagues attempt to track them down, Lucsly and Dulmur must restore temporal peace by setting off on an epic journey through the ages, with the future of the galaxy hanging in the balance…

Order The Collectors:

I am a huge fan of Christopher Bennett’s Department of Temporal Investigations novels.

The first book, Watching the Clock, was published very shortly after I began writing my Trek Lit reviews. I remember that novel being one of my most-anticipated reads that year, and it definitely did not disappoint. I enjoyed Watching the Clock immensely, and when the second book was announced, Forgotten History, I was over the moon. Again, Bennett delivered a quality work based on an exciting and unique premise.

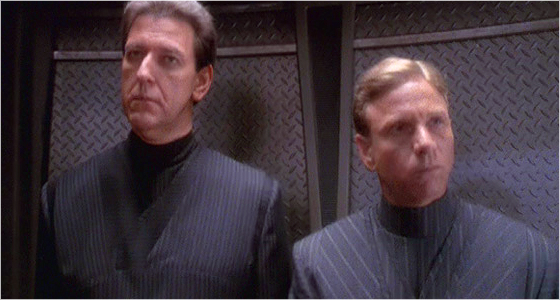
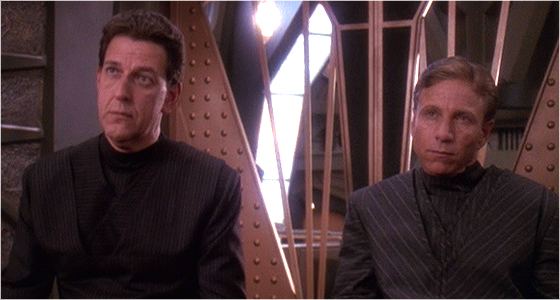
This time around, rather than a full novel, we are treated to an e-book exclusive novella. December’s new DTI entry, The Collectors is an adventure centering on our hapless duo, Dulmur and Lucsly, introduced in the wonderful Deep Space Nine episode “Trials and Tribble-ations.” Although this format is much shorter than the typical paperback novel, there is a lot going on in this story.

dti1

Dulmur and Lucsly are drawn into a time-twisting adventure with one of their counterparts from the 31st century, Jena Noi, and eventually end up millions of years in the future, where they confront a race of beings who are attempting to preserve all extinct species from every time period across the galaxy. These “Collectors” come under attack from a timeline that has been corrupted due to our characters interfering with one of their collection units. Trapped millions of years “uptime,” the three agents must set right what has gone disastrously wrong.

Whereas the previous two novels featured cameos and larger roles for Star Trek personalities besides the members of the Department of Temporal Investigations (for example, Janeway and others from the 24th century feature in Watching the Clock, while Forgotten History features the TOS crew quite heavily), The Collectors focuses solely on the DTI and other uptime counterparts of the agency.

I feel as though this particular format gave Bennett the freedom to maintain this focus. I may be wrong in this assumption, but it seems likely to me that for a full-size novel to be marketable, it would need more “anchors” to the wider Trek continuity in order to attract readers. In this smaller, more “niche” format, it’s possible that the author is able to have more freedom to tell a “smaller” story.

This, of course, makes me incredibly thankful that this format exists. I truly enjoyed this story, and I am very happy that we are able to read stories like this from the more obscure corners of the Star Trek universe. In fact, I would be in full support of a Department of Temporal Investigations e-book series. Maybe not as prolific as the prior Corps of Engineers series was; one story a year would be plenty!

dti2

Watch for a moment near the climax of the story in which two extinct species come together to form something from the nightmares of paleontologists and Starfleet officers alike. Pulling this off in a way I didn’t think was possible, Christopher L. Bennett had me crying with laughter at one particular moment. I don’t want to give it away, but you will know it when you read it!

Final thoughts:

At the heart of The Collectors is a debate between two opposing ideals: constancy and conservatism versus fluidity and change for the sake of change. Which is better?

It is interesting that the character of Lucsly, a man notorious for his desire to maintain the status quo including his unassailable belief in the one true unadulterated timeline, is the one to come to the conclusion that everything must eventually change and move on. The eponymous Collectors are concerned with the preservation of what was with no thought given to the changes they themselves have instigated.


Star Trek TNG S7 Blu-ray: Deleted Scenes, Part I

We’ve finally reached the release of TNG Season Seven on Blu-ray, and once again, we’ve been awarded a plethora of never-before-seen deleted scenes! Just like the cut footage from Season FourSeason Five, and Season Six, all of these new scenes have been rescanned from the original film negatives, just like the remastered episodes from which they were cut.

On the Blu-rays, each cut sequence is featured in context with clips from the final episode, and we’ve got a full breakdown and analysis of the first scenes below.

Episode 7.01: “Descent, Part II”

ds1

Scene 16: Data talks about his new-found emotions.

Brent Spiner channels Star Wars’ Yoda for a bit in this first cut scene:

“LOVE IS NOTHING MORE THAN THE ABSENCE OF HATE. JOY IS THE ABSENCE OF FEAR.”

This section of dialogue was removed as it is a bit redundant, reinforcing Data’s new ‘evil’ persona under Lore’s control. While it certainly highlights the change in the android’s persona, the deleted line doesn’t really make a whole lot of sense.

Episode 7.01: “Descent, Part II”

ds2

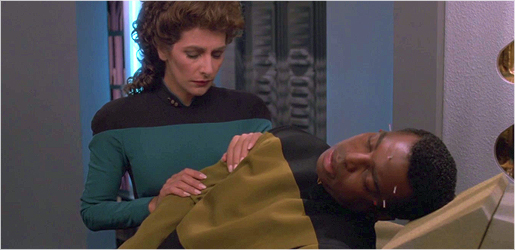
Scene 56: Riker and Worf spring Troi and Geordi from their holding cell.

This scene is brief, but answers one lingering question from the “Descent” finale: just how did Troi and a wounded La Forge escape from captivity anyhow?

In the final edit of this episode, Data takes Picard away for testing, the all of a sudden Riker and Worf show up, phasers blasting — and Troi and Geordi seem to be forgotten about until everyone is back aboard the Enterprise! It’s nice to see that there was at least an attempt to tie up this loose end in the original teleplay.

Episode 7.02: “Liaisons”

ds5

Scene 24: Worf is awoken in the middle of the night by Ambassador Byleth,
who demands a tour of the ship’s arboretum and science labs.

Worf just can’t catch a break after being assigned to guide Ambassador Byleth around the Enterprise, and we learn in the ending of “Liaisons” that Byleth’s antagonistic nature was only part of a cultural test used to learn about new species.

While it’s amusing to watch Worf scramble to meet yet another one of the ambassador’s unending requests, had this scene been left in the episode it would have likely been one too many jokes at Worf’s expense.

Episode 7.03: “Gambit, Part I”

ds3

Scene 2: Troi’s undercover work is dangerous, but that won’t stop her from having fun.

As the alien bartender tries to guess why Troi is looking for the unnamed criminal — later revealed to be a missing Jean-Luc Picard — the Betazoid plays up her role as a danger-seeking mercenary.

This clipped line adds a little bit of humor to the seemingly serious take on Troi’s hunt for her bounty, and it’s fun to see Marina Sirtis throwing herself into the part.

Episode 7.03: “Gambit, Part I”

ds4

Scene 7: Riker and Crusher come to terms with Picard’s death.

Trying bravely to keep her emotions in check, Beverly explains how she used a “multi-base progression” to match the recovered DNA to Picard’s medical records, and theorizes on how the remains became so badly damaged. Riker keeps his words to a minimum, clearly not knowing what to say in such a dark time.

In the final version of the episode, this entire scene is replaced with Jonathan Frakes’ somber “Acting Captain’s Log,” describing how Crusher positively identified Picard’s DNA in the remains found in the seedy bar. While this was likely a decision made to save time, it would have been nice to see some of Beverly’s reactions to the death of her longtime friend in the final edit.

Episode 7.03: “Gambit, Part I”

ds6

Scene 11: Yranac, the Yridian trader claiming to know how Picard died, tests Riker’s limits.

This is an extended version of the final confrontation between Riker and Yranac seen in the aired episode. As Riker asks more and more detailed questions, trying to identify the mercenaries who killed his captain, Yranac keeps putting up walls between himself and the truth about the barfight that resulted in Picard’s death.

We also see more of Riker’s threat to turn the trader over to the Klingon Empire, where the Yridian has several open warrants. He’s clearly frightened of being sent into Klingon custody, and he talks about how the Klingons treat their prisoners in this cut section of dialogue.

These edits are again simply removals made for time, as there’s no vital information being removed — the cuts tighten up the conversation and reduce some unneeded duplication.

Episode 7.03: “Gambit, Part I”

ds7

Scene 49: As Baran reveals his plans to raid a Federation facility,
Picard tries to save the outpost while not blowing his cover.

Baran describes his planned timeline for an attack on a Starfleet base, and Picard rightfully warns that the outpost will still have time to call for reinforcements. Baran thinks their mission will be fine, but his crew begins to voice their doubts about the upcoming assault — and Picard does his best to stoke the fires of discontent.

While it’s nice to see more of Patrick Stewart in his “Galen” cover identity, this conversation doesn’t add that much to the overall episode. It’s more of Baran and Picard sniping at each other, trying to get the crew to pick sides in their miniature cold war. Fun, but unnecessary.

Episode 7.04: “Gambit, Part II”

ds8

Scene 17: Riker improvises quickly, trying to stay on Baran’s good side.

After Baran learns repairs to his ship’s engines will take longer than he would like, he turns to Riker to speed things up — but Riker deftly chooses to side with the ship’s frazzled engineer. Baran then looks around for Galen, and sends Riker to “kick him out of bed.”

We already know that Baran has come to trust Riker — more than many others on his crew — so this is one more example of cutting footage that does nothing more than reiterate the status quo. No big loss.

Episode 7.04: “Gambit, Part II”

ds9

Scene 25: Baran learns his Klingon contact has been detained by the Enterprise,
and “Galen” blames Riker while casting doubt on Baran’s plan to raid the starship.

This extended conversation gives us a little more insight on why Baran was so willing to risk his crew to get to the Klingon courier, revealing that he received the Klingon’s scans of the missing artifact weeks ago. Baran also spells out more of his plan to board the Enterprise and recover the stone relic, to which “Galen” provides plenty of doubt.

This dialogue would have been nice to keep in the final edit, as it’s one of the livelier shouting matches the two-parter produced — but again, there’s nothing that important here that couldn’t have been removed for time, so it had to go. [td_smart_list_end]

There’s plenty more to come, as we’ve still got twelve more episodes worth of deleted scenes in Season 7 — stay tuned!

div_spacer

Order Star Trek:
TNG Season 7
on Blu-ray!


Order TNG's
"All Good Things..."

on Blu-ray!


Hands-On Photos: Australia’s TNG Blu-ray Box Set

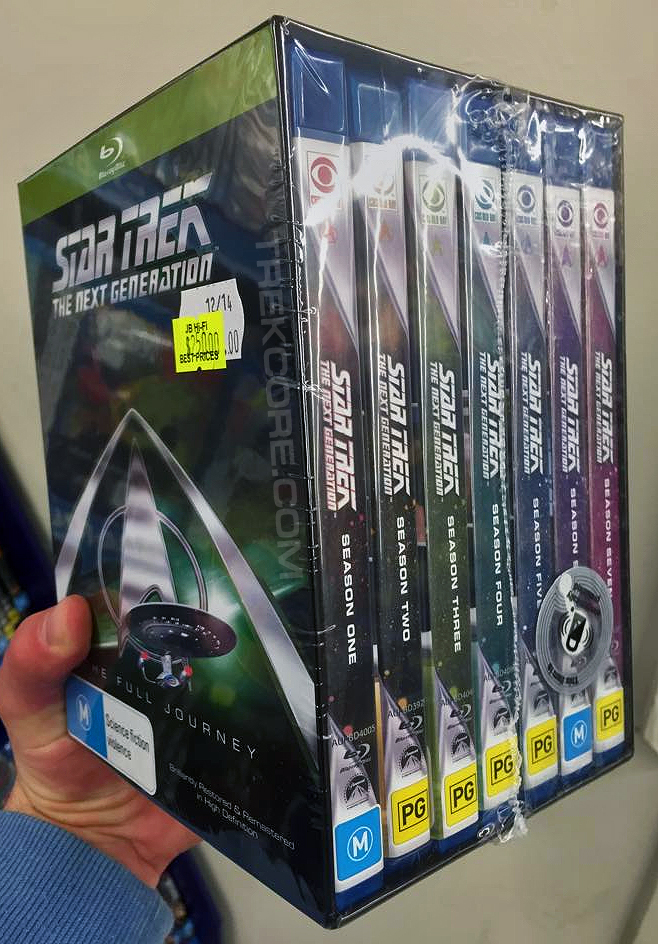
Much like the United Kingdom’s Amazon UK exclusive, Australia is also debuting a version of the “Full Journey” TNG Blu-ray collection this week, available on December 17 — and we’ve got the first look at their box set today!

tng_australia

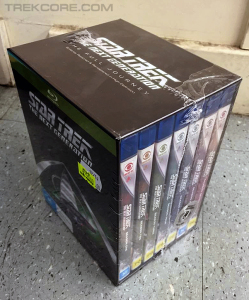
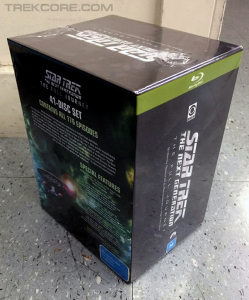
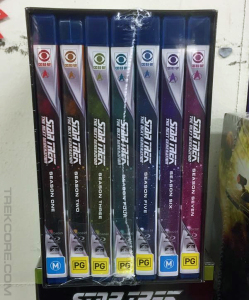
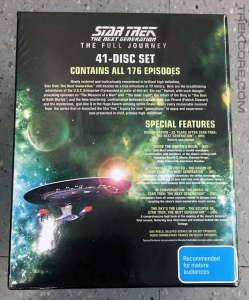
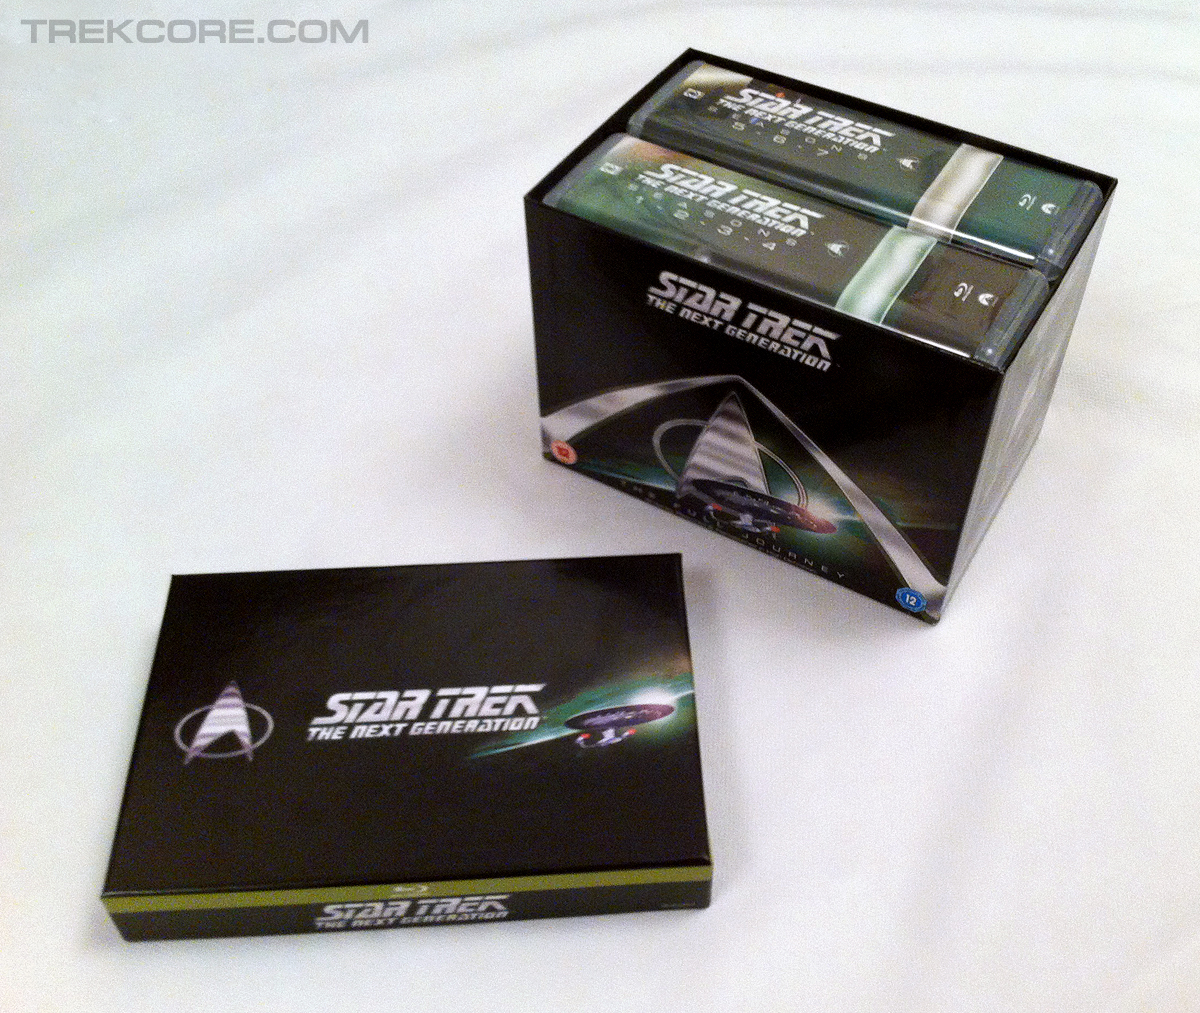
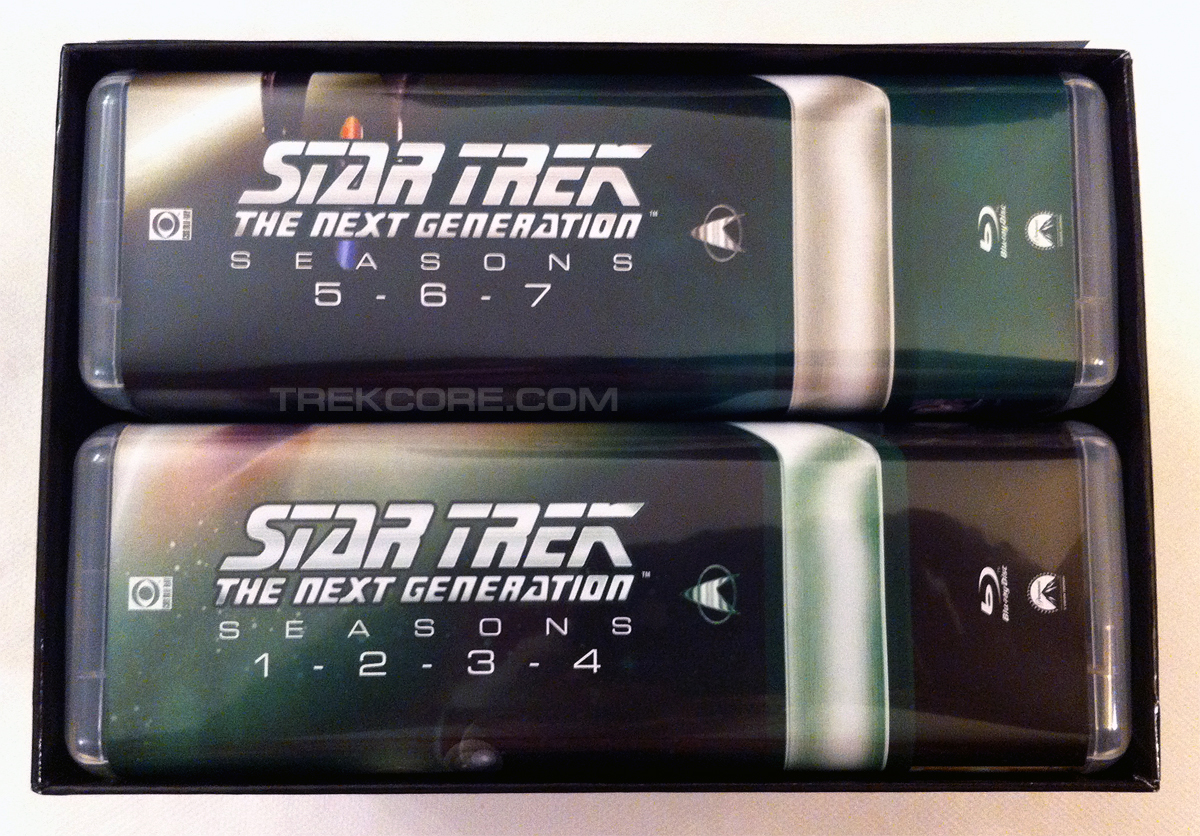
Unlike the somewhat cumbersome set released in the UK — made up of two gigantic DVD cases stuffed with over forty Blu-ray discs — Australia’s release is a much more manageable collection of the seven individual seasons of The Next Generation, housed in a nice glossy slipcase.

aus1 aus2
aus6 aus4
aus3 aus5

The “Full Journey” collection is available down under for $250 AUD at JB Hi-Fi, Australia’s main source for Star Trek on Blu-ray.

Thanks to reader Mat Rowe for sharing the above photos!

.   .   .

So which do you prefer? Australia’s streamlined collection pictured here, or the UK’s jumbo-sized disc collection? Do you prefer keeping each season separate? Sound off in the comments below!


First Look at the “Full Journey” TNG Blu-ray Set

Paramount UK’s exclusive “Full Journey” Blu-ray collection, featuring all seven seasons of The Next Generation, is making its way to buyers this weekend, and we’ve got the first photos available of this 41-disc collection!

tng_uk_box1

Inside the box itself, the set features two jumbo-sized, DVD-height plastic cases, which contain twenty-three and eighteen Blu-ray discs each. Thankfully, the set has none of the previously-feared cardboard sleeves, which means that these discs will be well protected in this collection.

tng_uk_box2 tng_uk_box3 tng_uk_box4 tng_uk_box5

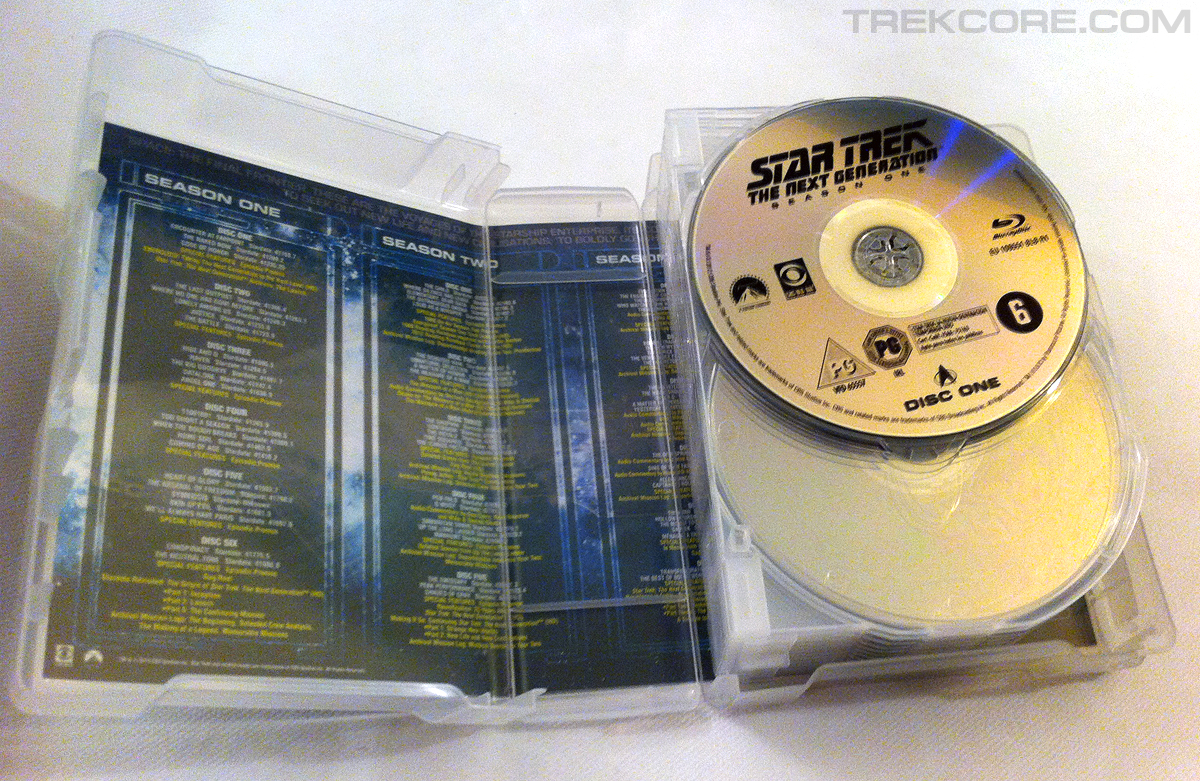
Each giant disc case contains a listing of each disc’s content.

tng_uk_insert1 tng_uk_insert2

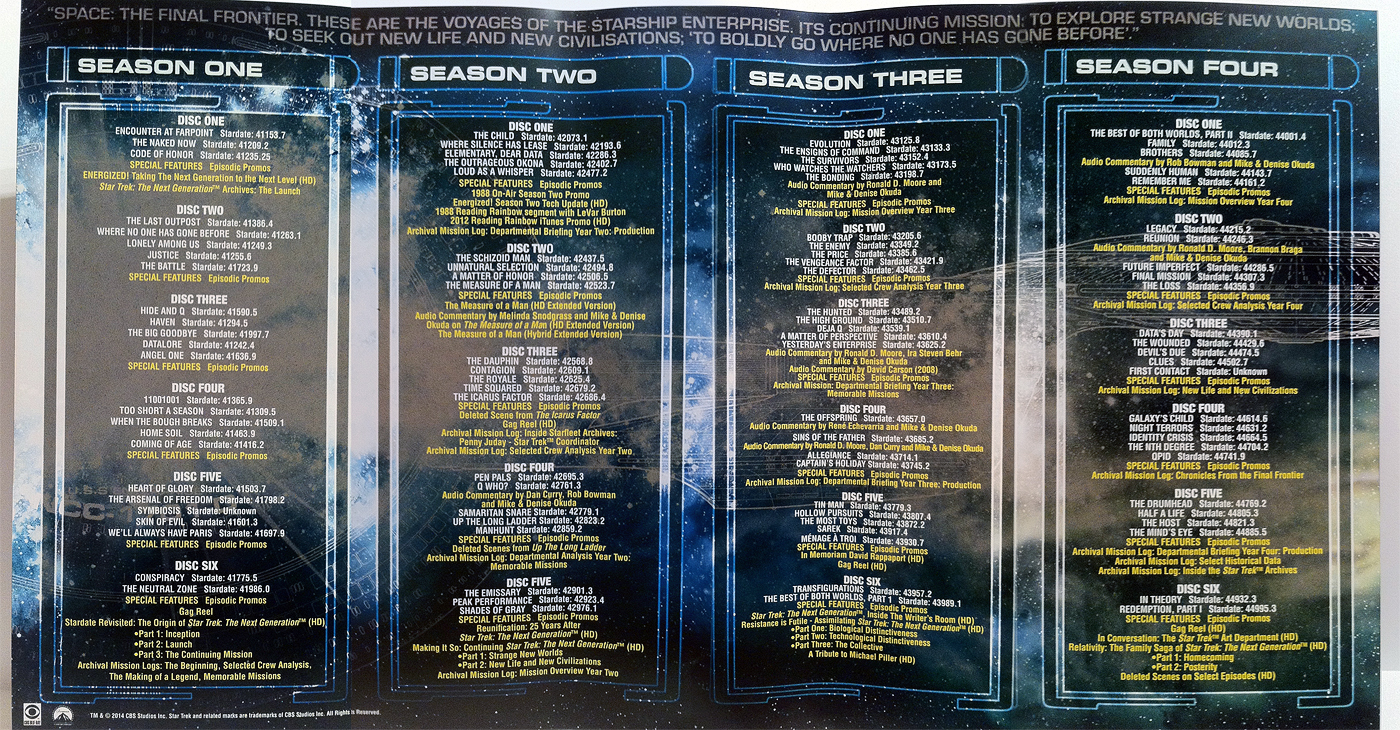
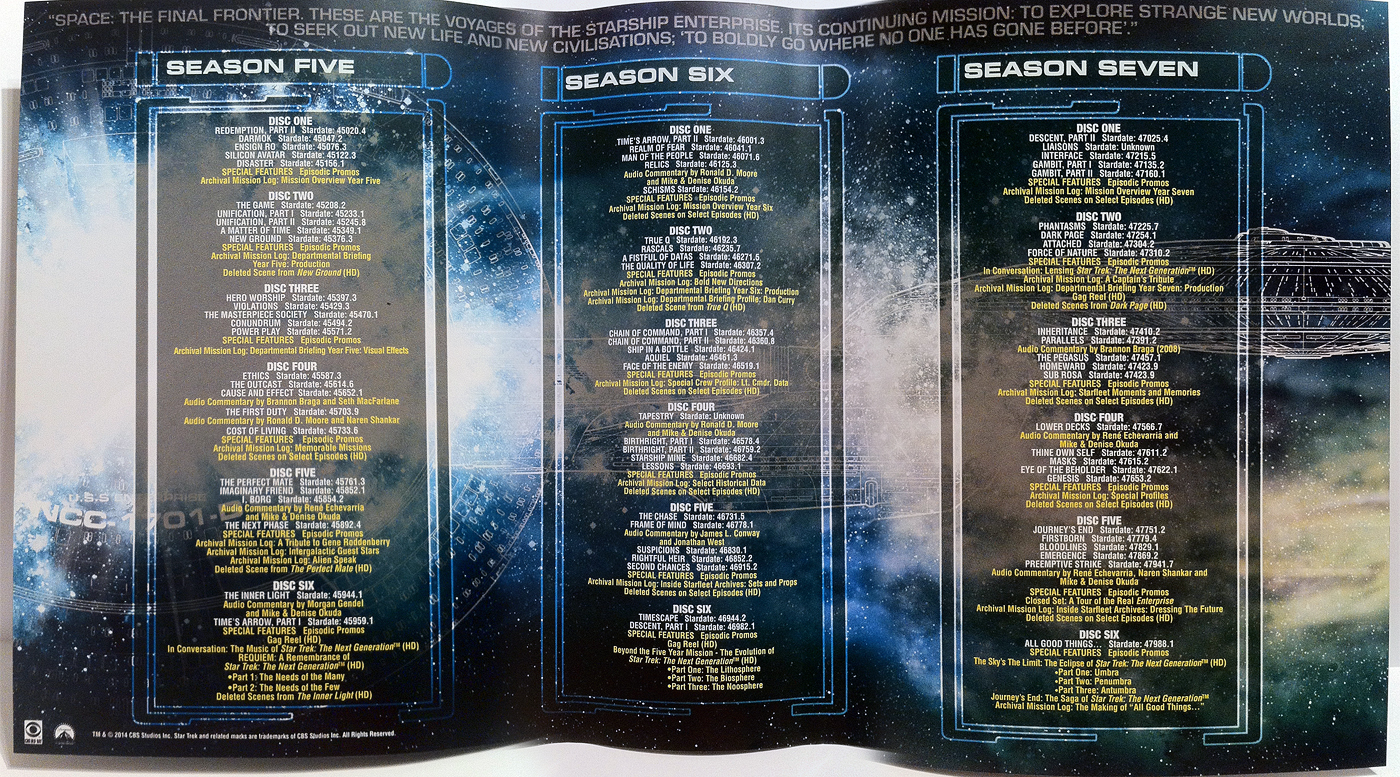
Finally, the set also includes a season-by-season summary in a full-color booklet.

tng_uk_book1 tng_uk_book2 tng_uk_book3 tng_uk_book4 tng_uk_book5 tng_uk_book6

.   .   .

Special thanks to Amazon UK reviewer The Blue Flash for providing TrekCore these shots!

div_spacer

tng-uk-complete Order Star Trek: The Next Generation
“Full Journey” Complete Series
Region-Free Blu-ray Box Set! 

Frakes on STAR TREK 3: “Nothing I Would Like Better”

Star Trek: The Next Generation actor Jonathan Frakes has become one of the franchise’s most prolific alumni directors, along with Roxann Dawson, LeVar Burton, and Robbie McNeill — but it’s the actor’s experience directing Star Trek: First Contact and Star Trek: Insurrection that’s catapulted him into this week’s Star Trek 3 conversation after the announcement that Roberto Orci is no longer set to direct the upcoming film.

A Twitter campaign to bring Frakes into the Trek 3 director’s chair — #BringInRiker — has caught fire this week among Trek fandom, and even the actor best known as Will Riker has something to say about it.

Bring in Riker! I’m all over it! I already contacted J.J. [Abrams]; I’ve got my agent trying to stir the pot at Paramount. I would love that job!

Unabashedly, I would be great at that job, and I’d love to do it. We’ll see. I’m trying to keep a lid on how excited I am about the possibility, knowing it’s such a long shot…

…but there’s nothing I’d like better.

Listen to Frakes’ whole conversation with Seattle reporter Charlie Harger here:

div_spacer

Source: Komo News Radio